Clients Page
Clients page displays a list of all the clients, with their name, code, email and an IsActive checkbox.
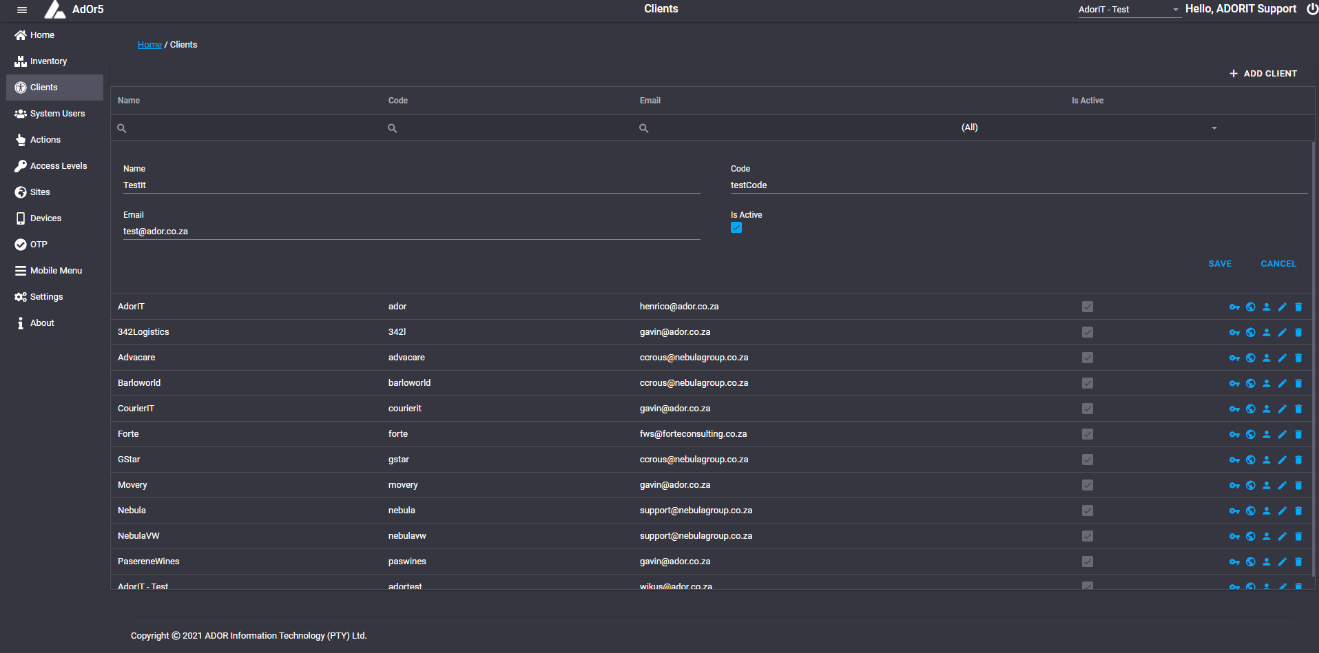
Add Client
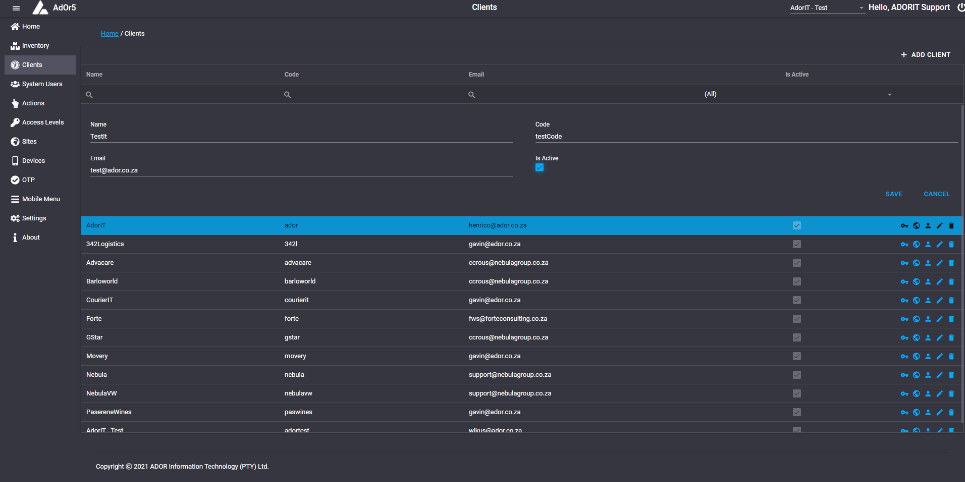
A client can be added by clicking on "Add Client" in the top right corner.
Three textboxed for Name, Code and Email will appear, and a checkbox to indicate if it's Active or not.
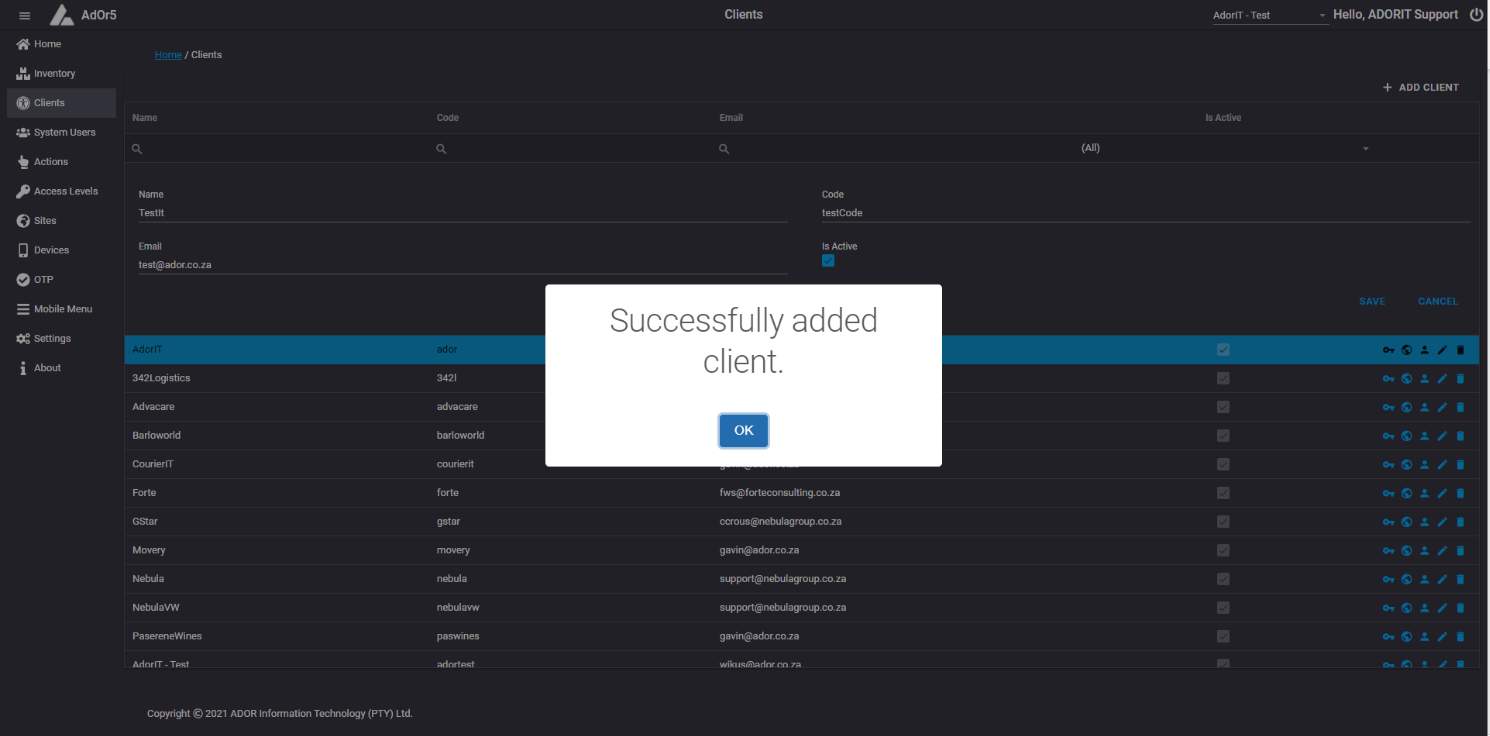
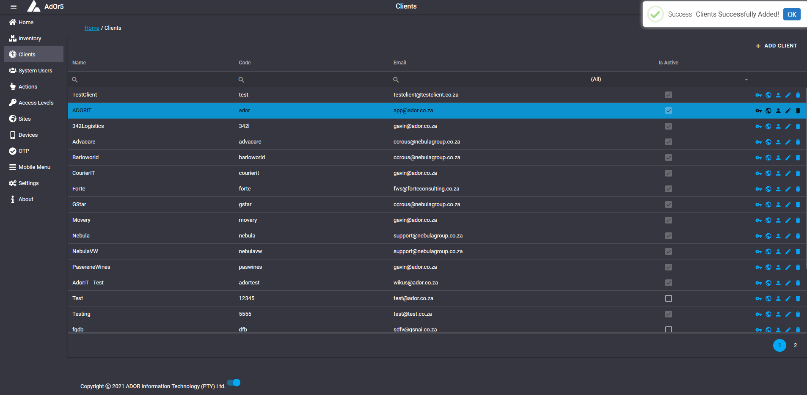
After clicking on Save, a message box saying, "Successfully added client." will appear and after clicking "Ok" on the message box, another message, "Success. Client Successfully Added!" will appear in the top right corner.
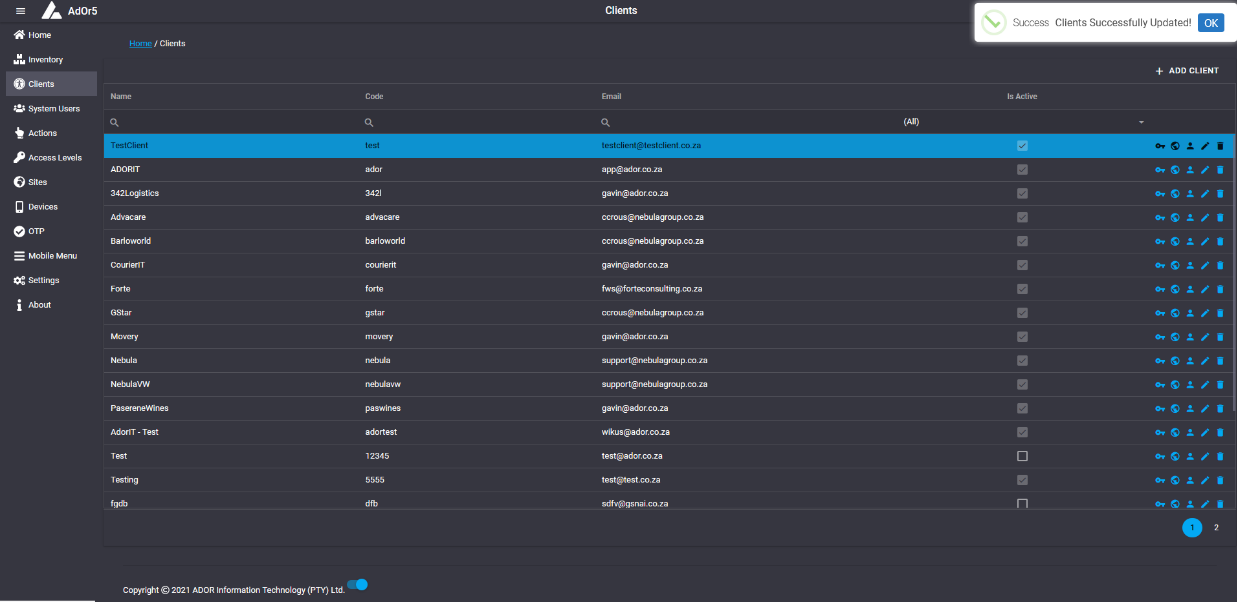
Edit Client
Clicking on the pen icon, will allow you to edit the specific client.
Three textboxes, populated with the clients' Name, Code and Email adres, and a checkbox indicating if the client is active or not.
After editing the client and clicking on save, the textboxes will be closed and a message, "Success. Client Successfully Updated!" will be displayed in the top right corner.
Delete Client
When clicking on the Trash can icon, a message box will appear with a prompt, "This Client\'s data will be deleted 30 days after deactivation, are you sure you would like to continue?"
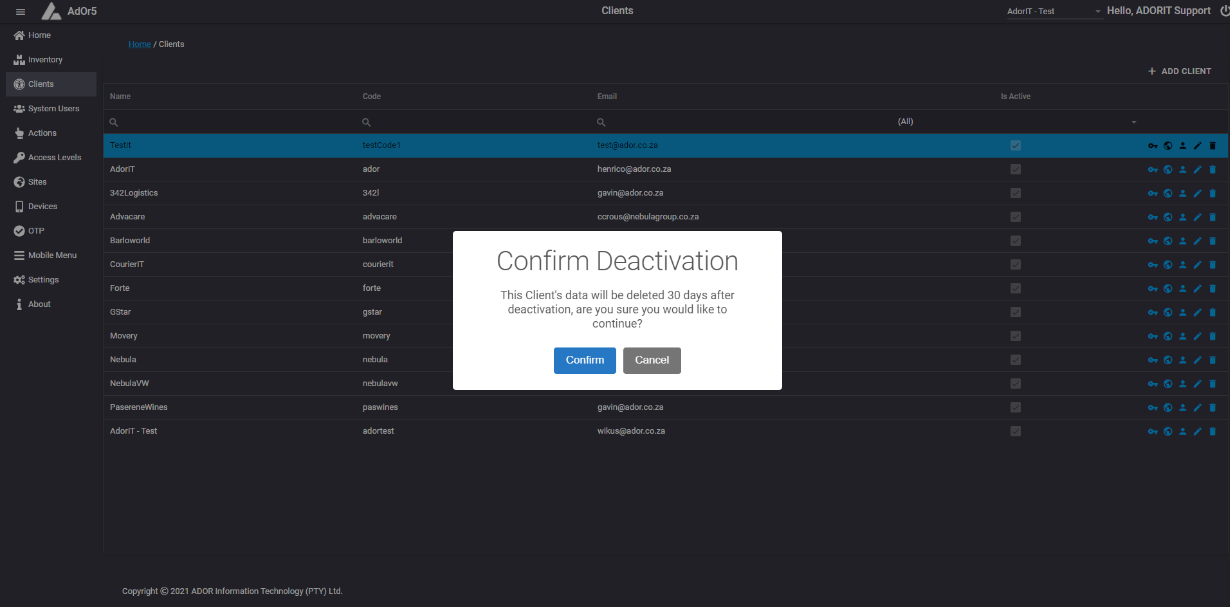
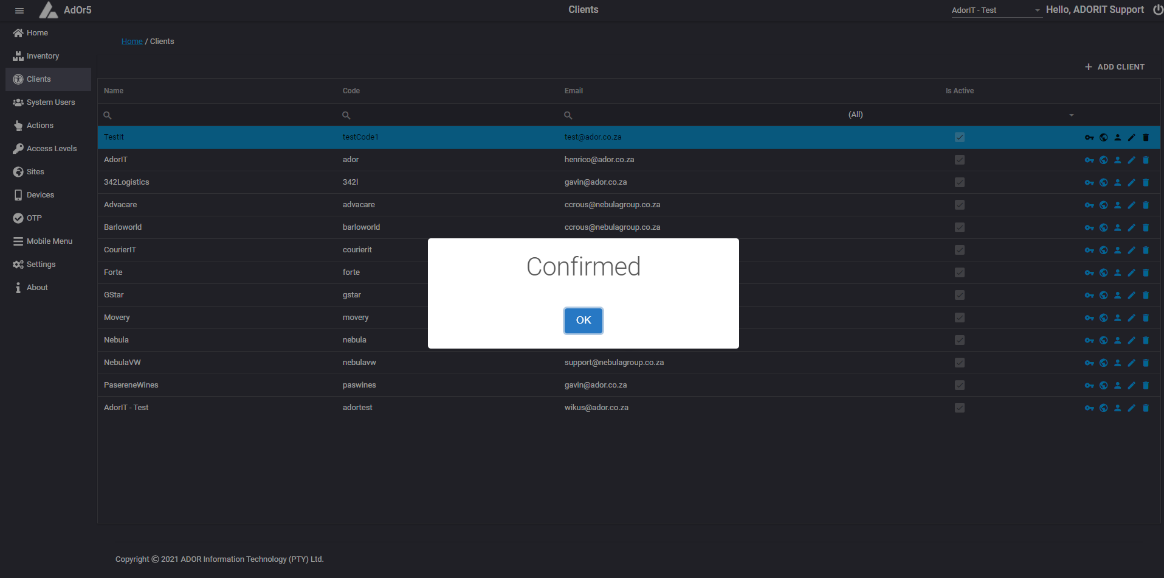
If you choose confirm another message box will appear and will ask for the name of the client to be provided as confirmation.
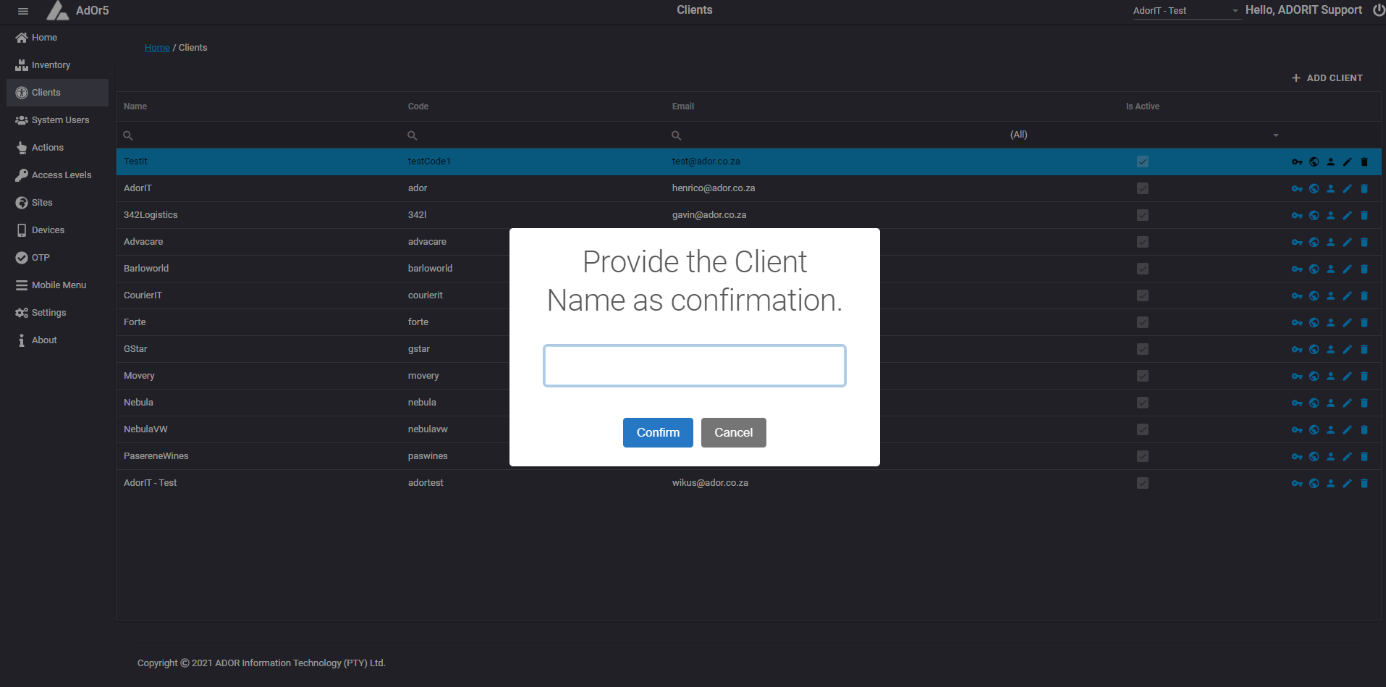
If the Client name was correct, a confirm message will be given and client will be removed or deactivated.
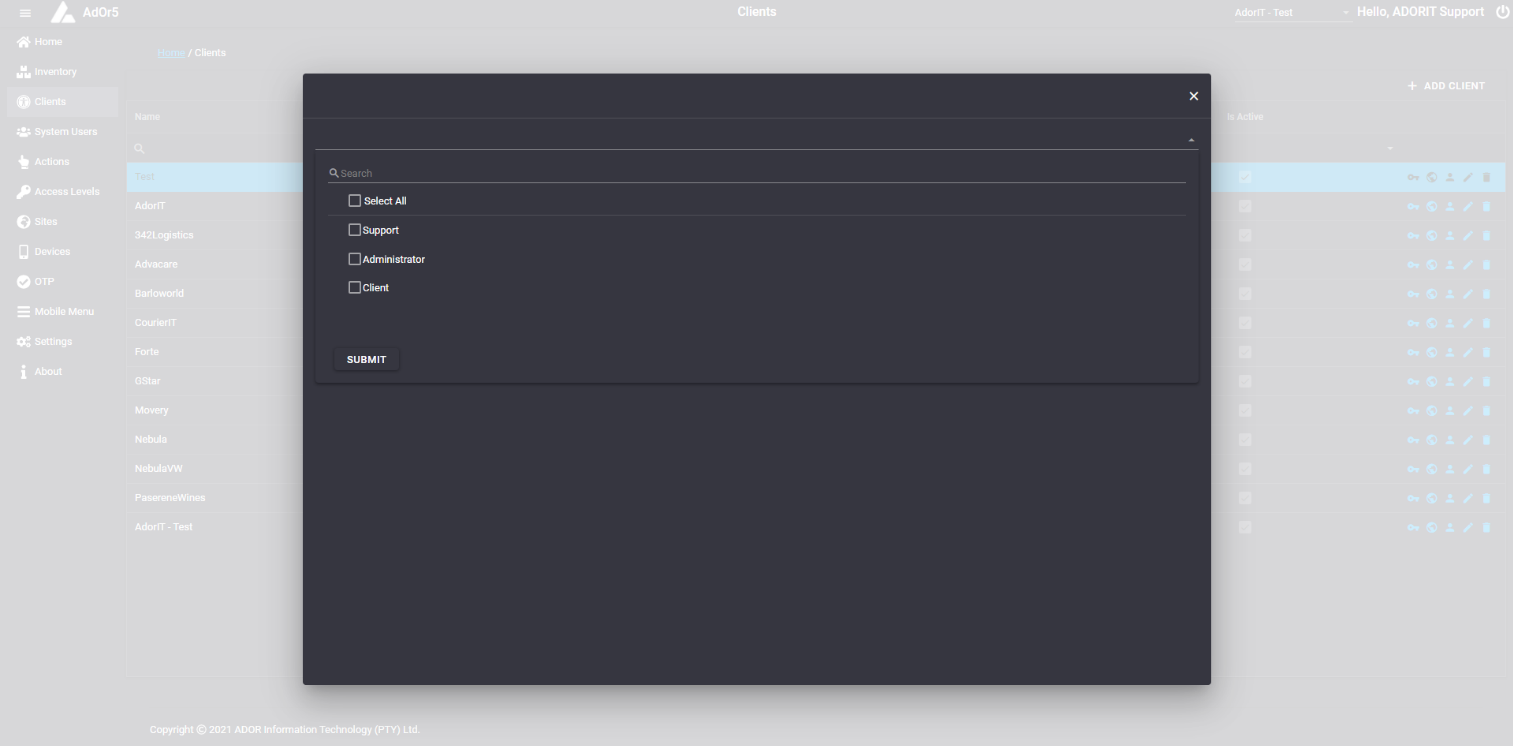
Add Access To Client
When clicking on the Key icon a popup will appear where you can add access to the client by choosing one or more access levels from the drop down list.
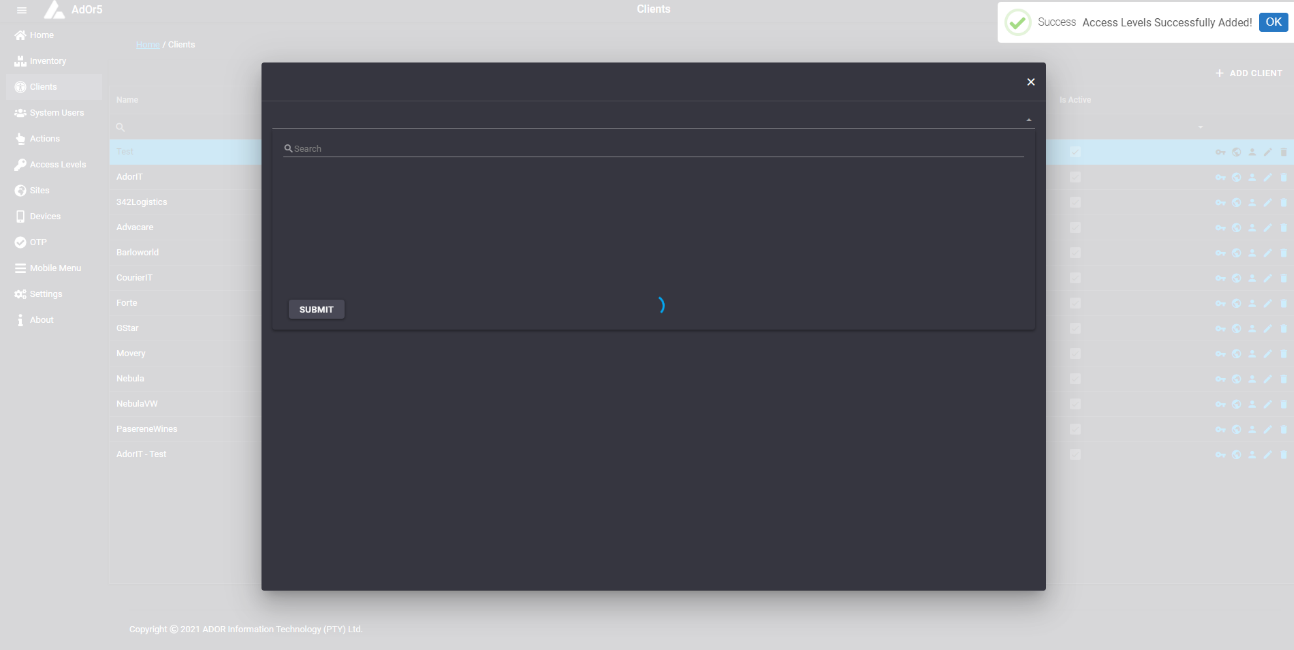
After clicking Submit, a message will appear in the top right corner, "Success. Access Levels Successfully Added!".
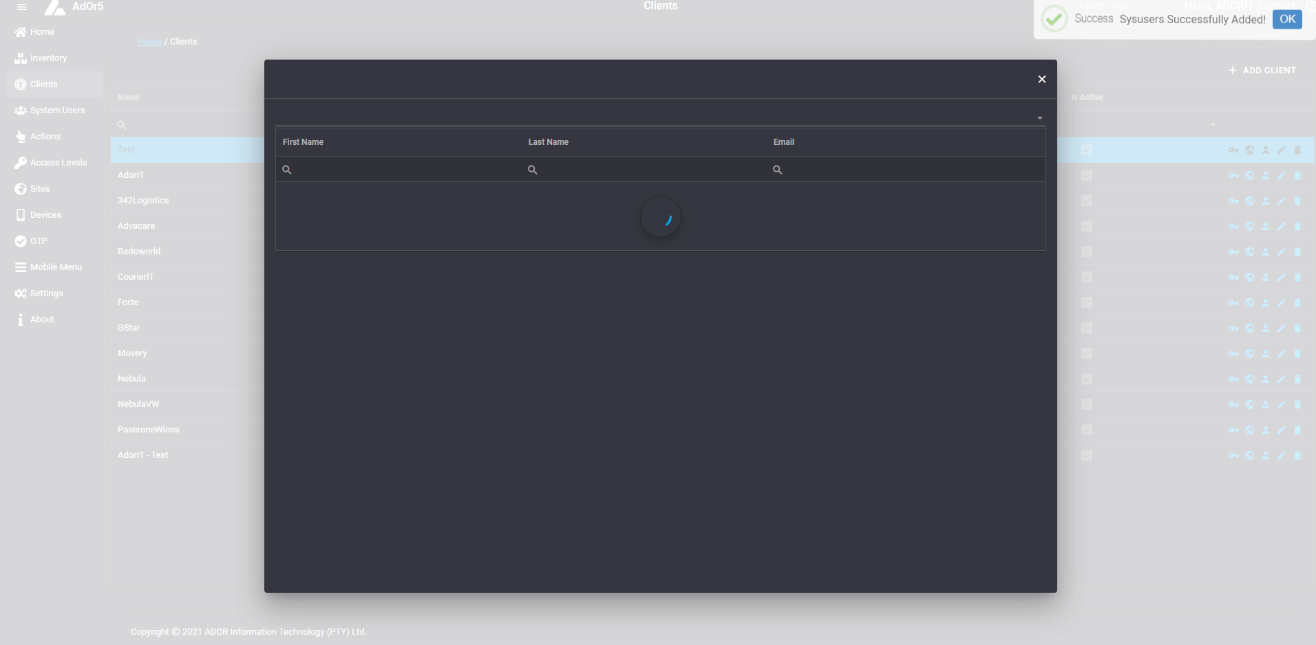
Add System User To Client
Clicking on the Person icon will open a popup with a drop downlist of System Users.
After choosing one or more System Users and clicking submit, a message, "Success. System Users Successfully Added!" will appear in the top right corner.
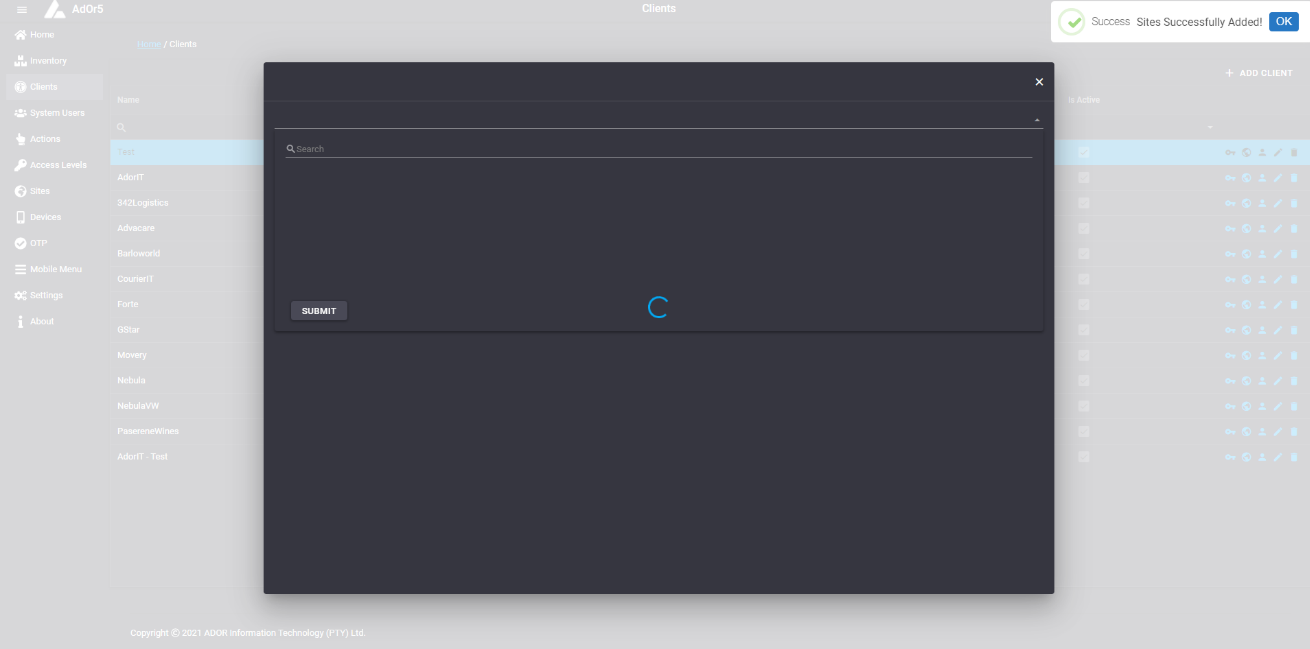
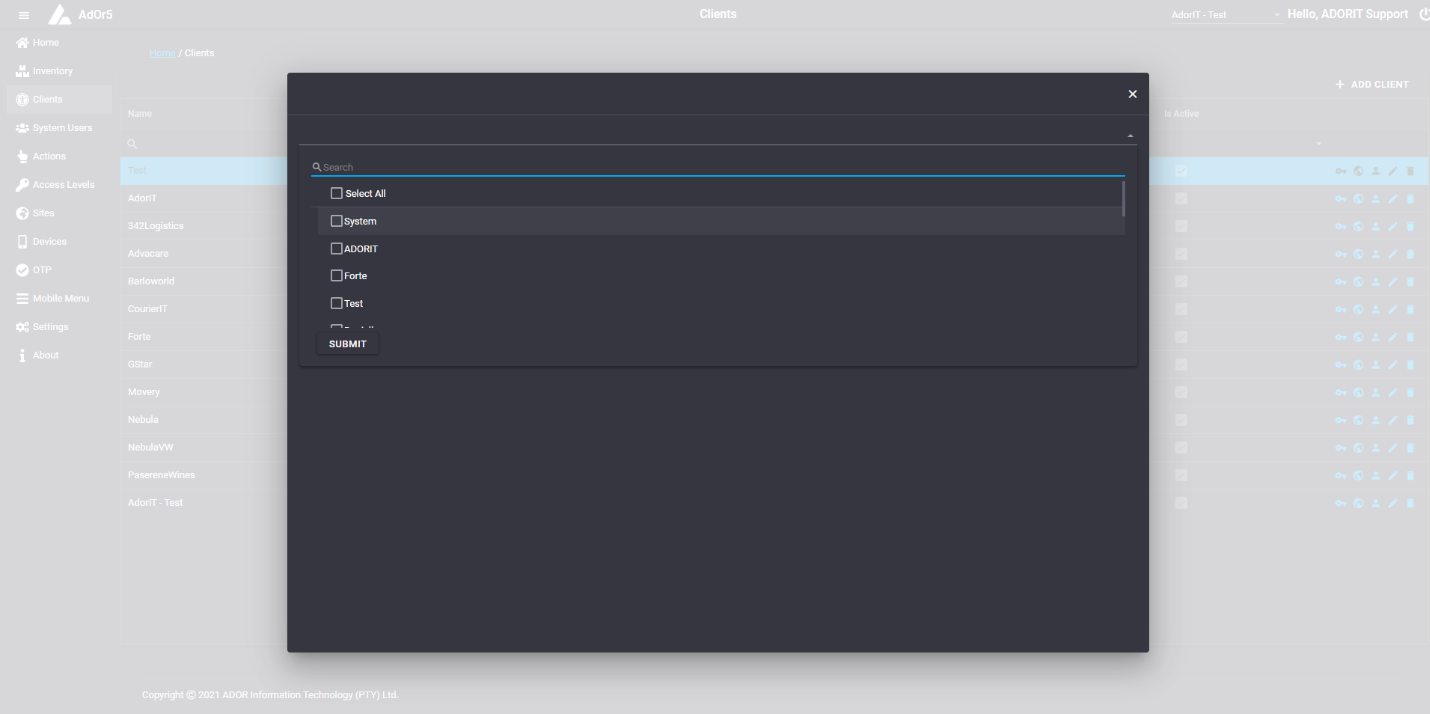
Add Sites To Client
Clicking on the Earth icon will open a popup with a dropdown list with the the sites.

After choosing one or more sites from the drop down list and clicking Submit, a message, "Success. Sites Successfully Added!" will appear in the top right corner.