Orders
We are in the process of porting our user manual, this page might contain incorrect information.
Orders
Create Order
To access the Create Orders screen, click on the Orders tab and then on Create Order inside the drop-down menu.
When creating a new order, complete the New Order fields at the top of the screen, as well as the Destination fields.
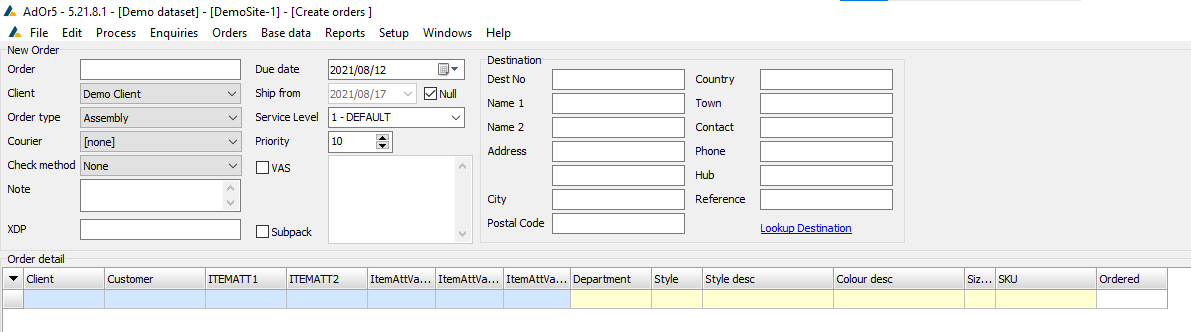
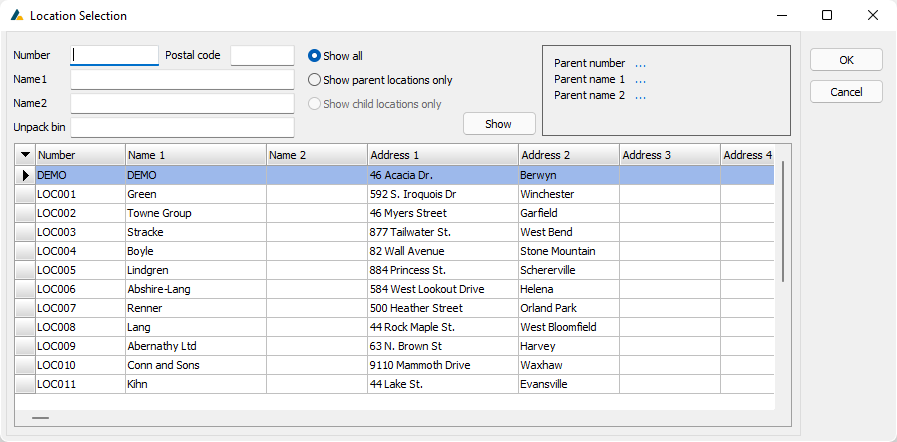
To lookup a destination that is already in the database, click on Lookup Destination, select one from the list and then click OK to confirm your selection. The list of locations can be filtered by completing the applicable fields at the top of the window and clicking Show.
There are three action buttons on the right-hand side of the screen. They perform the following functions:

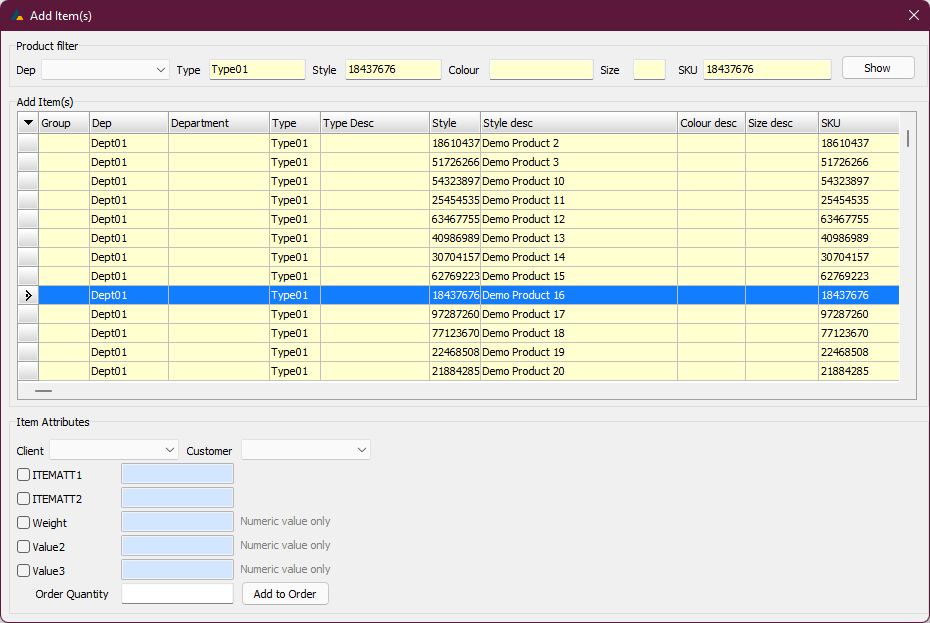
Add
Click this to add items to your order. Filter the list of items by completing the applicable fields at the top of the window and clicking Show. Select the item you wish to add and click Add to Order. Be sure to select a Client and Customer, complete the Item Attributes field (if applicable) at the bottom of the window as well as the Order Quantity field before adding the items to your order.
Edit
To edit an item, select an item from the Order detail pane and click Edit. Enter the new quantity of the item and click OK to confirm.

Remove
To remove an item from your order, select the item from the Order detail pane and click Remove. Click Yes at the confirmation pop-up box to confirm.
Save
Once you have completed creating your order, click Save to finalise the creation of the order. Click OK at the confirmation pop-up box to proceed.
Cancel
Click this to cancel all changes made to the order. Click Yes at the confirmation pop-up box to confirm.
Edit Order
To access the Edit Orders screen, click on the Orders tab and then on Edit Order inside the drop-down menu.
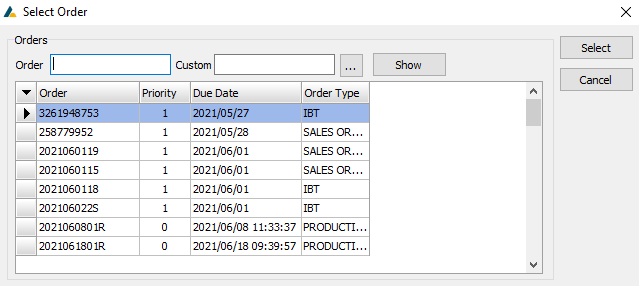
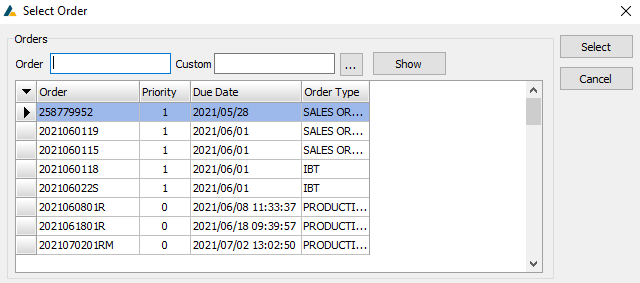
Enter the order number of the order you wish to edit and click Load. To search for an order, click on "...". Select the order that you are looking for and click Select. You can filter this list by completing the fields at the top of the window and clicking Show.
After selecting an order to edit and clicking on Load, it will be loaded and can then be edited.
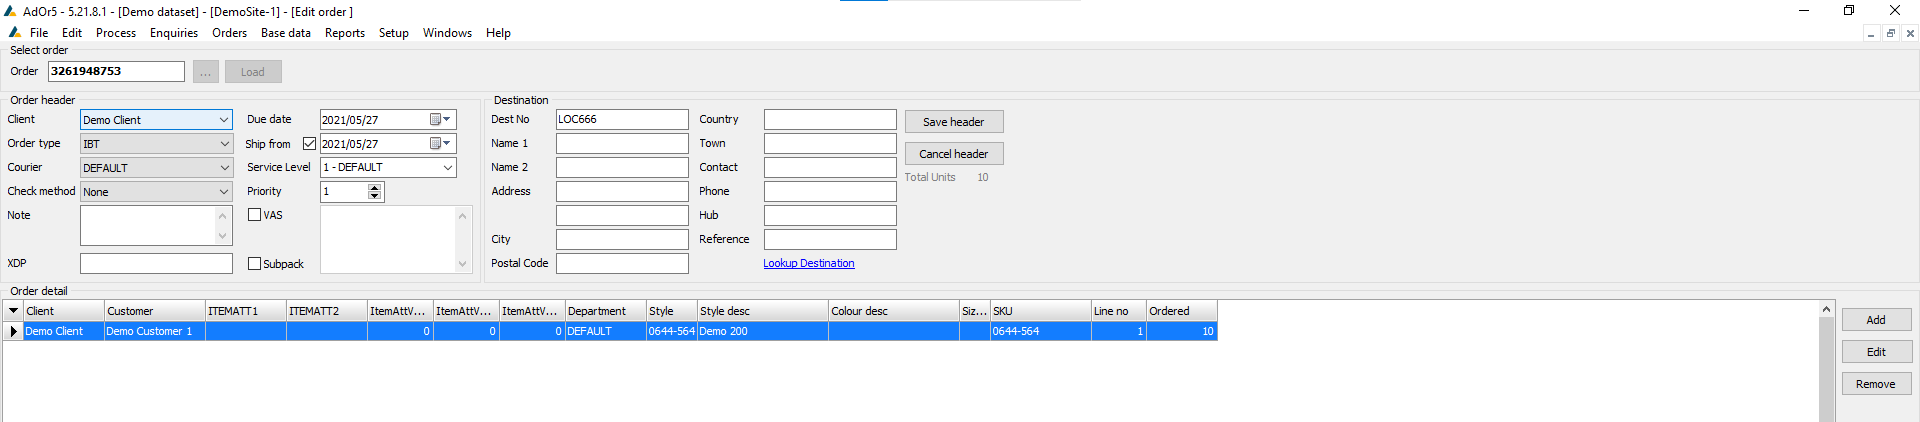
The following changes can be made to the selected order:
Save header
Click this to save any changes made to the order.
Cancel header
Click this to cancel any changes made to the order.
Add
Click to add items to the order.
Edit
Click to edit the selected item.
Remove
Click to remove the selected item.
Edit Multiple Orders
To access the Edit Multiple Orders screen, click on the Orders tab and then on Edit Multiple Orders inside the drop-down menu.
To populate the list of orders, click Show. The list can be filtered by completing the applicable fields at the top of the screen before clicking Show.
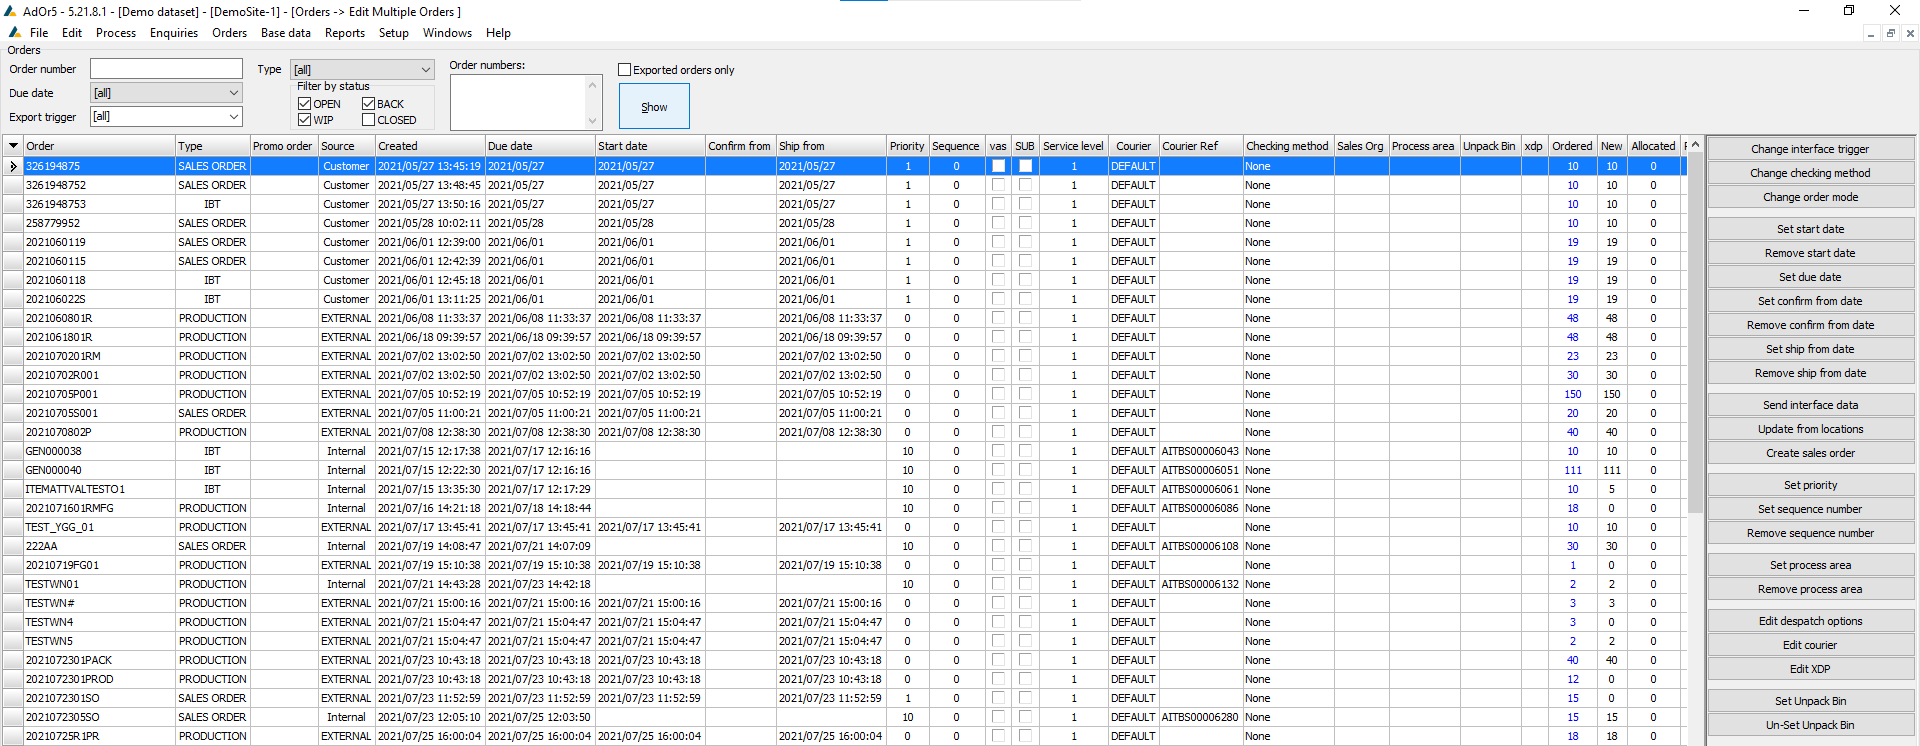
Select the orders that you wish to edit and then click one of the applicable action buttons to the right of the screen. Alternatively, you can right-click and select an option from the menu.
Change interface trigger
Click this to change the interface trigger (when the order confirmation file will export) of the selected orders. Select an interface trigger from the drop-down list and click OK to make the change.

Change checking method
Click this to change the checking method of the selected orders. Select a checking method from the drop-down list and click OK to make the change.

Change order mode
Click this to change the order mode for the selected orders. Select a order mode from the drop-down list and click OK to make the change.

Set start date
Click this to set the start date for the selected orders. Enter a date or select it using the calendar button and then click OK to confirm.

Remove start date
Click this to remove the start date from the selected orders. Click Yes at the confirmation pop-up box to confirm.
Set due date
Click this to set the due date for the selected orders. Enter a date or select it using the calendar button and then click OK to confirm.

Set confirm from date
Click this to set a new confirm from date for the selected orders. Enter a new date or select it using the calendar button and then click OK to confirm.

Remove confirm from date
Click this to remove the confirm from date from the selected orders. Click Yes at the confirmation pop-up box to confirm.
Set ship from date
Click this to set a new ship from date for the selected orders. Enter a new date or select it using the calendar button and then click OK to confirm.

Remove ship from date
Click this to remove the ship from date from the selected orders. Click Yes at the confirmation pop-up box to confirm.
Send interface data
Click this to send interface data for the selected orders. Click Yes at the confirmation pop-up box to confirm this action.
Update from locations
Click this to update the selected orders from locations. Check the applicable fields to update and click Update to proceed.

Create sales order
Click this to create a sales order from the selected orders. Enter a sales order number and click OK to proceed. Click Yes at the confirmation pop-up box to confirm this action.

Set priority
Click this to set the priority of the selected orders. Enter a priority value (1 = highest priority) and click OK to proceed.

Set sequence number
Click this to set the sequence number for the selected orders. You can either use the next system generated number or specify a sequence number. Click Yes at the confirmation pop-up box to confirm this action.

Remove sequence number
Click this to remove the sequence number for the selected orders. Click Yes at the confirmation pop-up box to confirm this action.
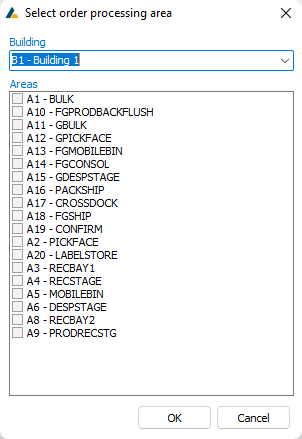
Set process area
Click this to set the process area for the selected orders. Select a building and area and click OK to proceed.
Remove process area
Click this to remove the process area from the selected orders. Click Yes at the confirmation pop-up box to confirm this action.
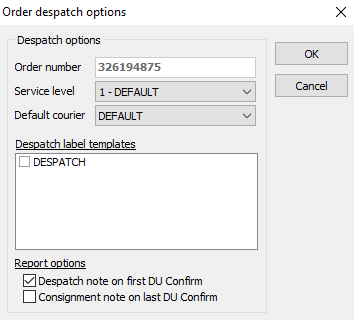
Edit despatch options
Click this to edit the despatch options for the selected orders. Edit the applicable details and click OK to confirm.
Edit courier
Click this to edit the courier for the selected orders. Select a courier from the drop-down list and then click OK to confirm the action.

Edit XDP
Click this to edit the XDP for the selected orders. Enter the XDP in the applicable field and click OK to confirm the action.

Set Unpack Bin
Click this to set the Unpack Bin for the selected orders. Select a Building, Areas and Bins from the drop-down lists and click OK, to Set the Unpack Bin.

Un-Set Unpack Bin
Click this to Un-Set the Unpack Bin for the selected orders.
Split Order
This section has not yet been updated
To access the Split Order screen, click on the Orders tab and then on Split Order inside the drop-down menu.
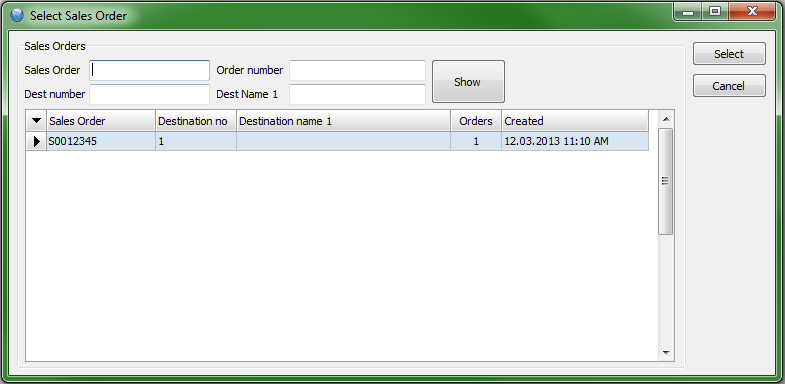
Type in the number of the sales order you wish to load and click Load. You can search for the sales order by clicking "..." and selecting it from the list. The list can be filtered by completing the applicable fields at the top of the window and clicking Show. Select the sales order from the list and then click Select.
Select an order from the Orders list. Then select a new order/destination (you can search for it by clicking the "..." button) or select an existing destination (choose from the drop-down list) by clicking the applicable radio button.
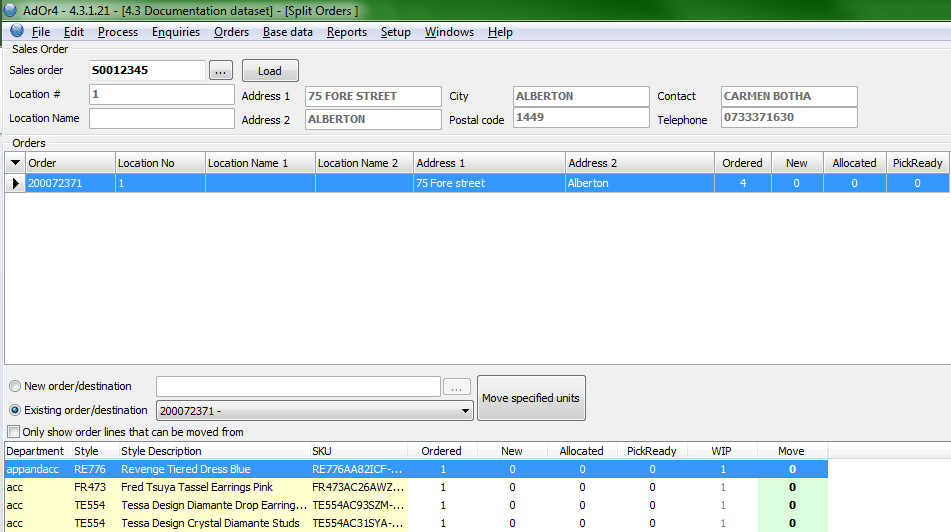
In the Move column of the item table at the bottom of the screen, click on the value of the item you wish to move and enter the quantity to be moved. Then click Move specified units (This button's text will change to Move * units according to the number of units being moved). Click Yes at the confirmation pop-up box to confirm this action.

Create Allocated Orders
To access the Create Allocated Orders screen, click on the Orders tab and then on Create Allocated Orders inside the drop-down menu.
Complete the applicable fields in the New Order and Destination panes.
In the Inventory pane, you can filter the list of items by completing the applicable fields and then clicking View stock.
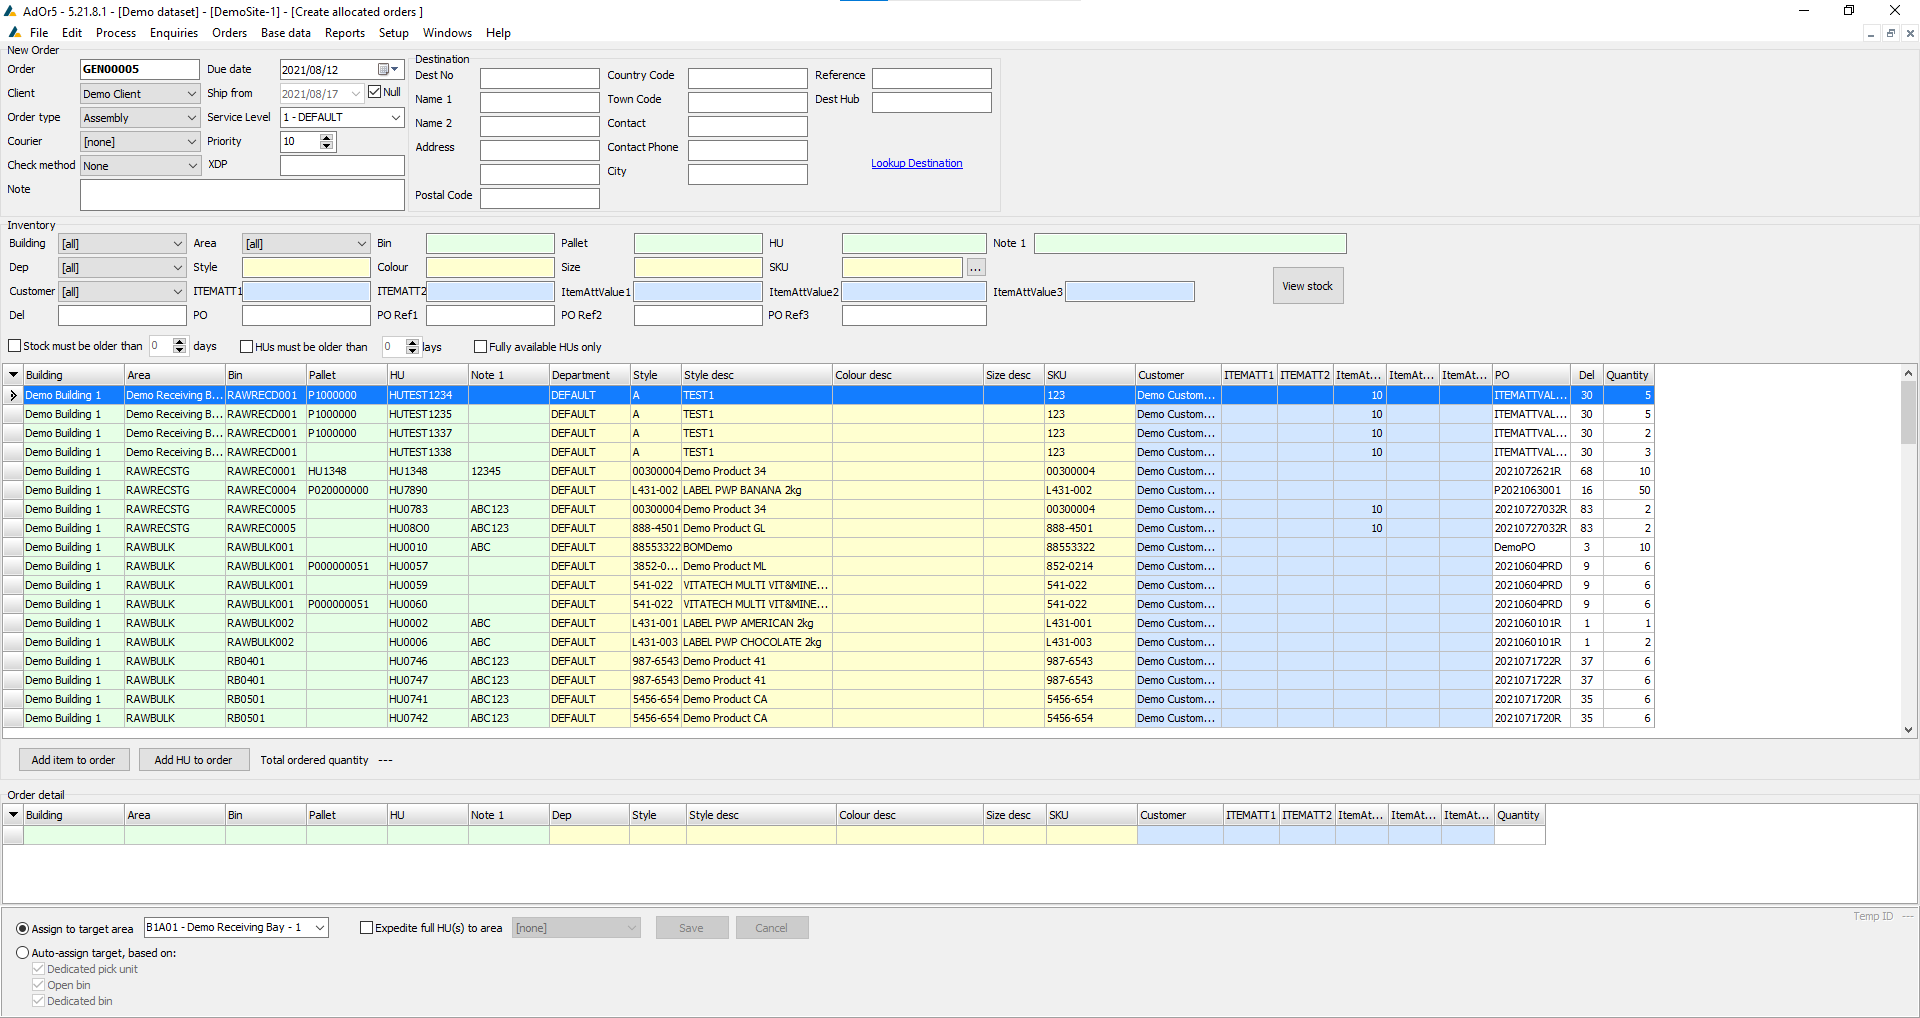
Select the items you want to add to the order and then click on the applicable action button.
Add item to order
Click this to add the selected item to the order.
Add HU to order
Click this to add all items in the HU of the selected item to the order.
All items and Hu's that was added to the order will appear in the Order detail pane.

Once all items have been added to the order, complete the applicable fields at the bottom of the screen (select the allocation target area, as well as an expedite area if the stock is in "Golden Box" HU's) and then click Save to complete the process. Click OK at the notification pop-up box.
Manual Allocate Orders
To access the Manual Allocate Orders screen, click on the Orders tab and then on Manual Allocate Orders inside the drop-down menu.
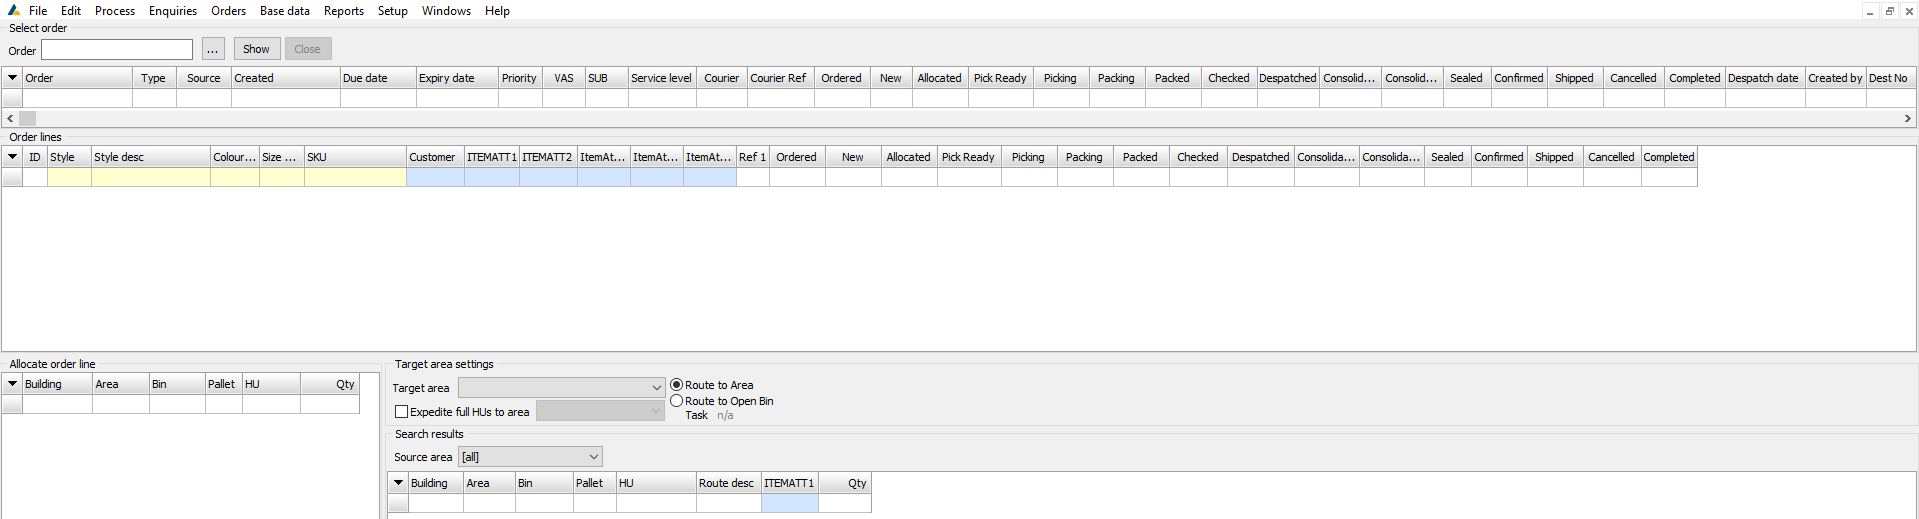
Select the order that you want to allocate by typing the order number in the Order field at the top of the screen and clicking Show. You can search for an order by clicking the "..." button.
Select the order to display its order lines. Then click on an order line to select it.
This will display the location of any available stock of the selected product in the Search results pane, you can filter by Source area by selecting an area from the drop-down box.

Select a target area from the Target Area drop-down box. You can also choose to expedite full HU's to a specific area, which you can choose from the applicable drop-down box after checking the Expedite full HUs to area option.

Once you have selected a target area, select a HU in the search results, right-click it and click Allocate HU to allocate it, which will move the data displayed to the Allocate order line table.

The quantity of the source HU will change accordingly and the stock status of the order line will change from "new" to "allocated".
![]()
If you wish to un-allocate the HU, right-click it in that table and click Remove HU. Click Yes at the confirmation pop-up box to confirm this action.
Create/Edit Purchase Order
To access the Create/Edit Purchase Order screen, click on the Orders tab and then on Create/Edit Purchase Order inside the drop-down menu.

Create PO
Complete the applicable fields at the top of the screen. The Supplier can be selected by searching using the "..." button.
Once those fields have been populated, items can be added to the PO.
The action buttons on the right-hand side of the screen allow the following functions to be performed:
Add
Click this to add an item to the PO.
The list can be filtered by completing the applicable fields at the top of the window and clicking Show.
Select the required item, select a Customer, complete the Item Attributes fields (if applicable), fill in the Order Quantity and click Add to Order.

Edit
Select an item and click this to edit the quantity of the item to be ordered. Enter a new quantity and click OK to confirm.

Remove
Click this to remove the selected item from the PO. Click Yes at the confirmation pop-up screen to confirm.
Alternatively, you can right-click the table of items to access the New item, edit item and Remove item options.
Once you have added all required items, select the applicable Blanket PO option from the drop-down list at the bottom of the screen.
Save
Click this to save the PO.
Cancel
Click this to cancel all changes made.
Creating a Blanket PO
Enter the header details for the PO.

As this PO will be used to receive multiple deliveries for a variety of items and quantities, no SKU's or quantities need to be specified (A blanket PO will allow any items to be received).
What must be set, however, is the Blanket PO option at the bottom of the screen. It should be set to "Allow any items during receiving".
![]()
On the right-hand side of the screen, click "Save" to create the PO.
Receiving the Completed Kits
To create the stock, simply schedule a delivery on the Blanket PO and receive it as you would receive a standard PO. When the delivery is accepted, the stock will be made available.
Edit PO

Enter the order number of the PO you want to edit in the Order field. You can search for it by clicking the "..." button.
Edit the applicable header fields as necessary. You can also edit the items in the Detail pane.
The action buttons on the right-hand side of the screen allow the following functions to be performed:
Add
Click this to open the Add Item window to add items to the PO.

Edit
Click this to edit the quantity of the selected item.

Remove
Click this to remove the selected item from the PO.
Save
Once you have finished editing the PO, click Save to save your changes.
Create ASN
To access the Create ASN screen, click on the Orders tab and then on Create ASN inside the drop-down menu.
Type in the PO number in the field at the top of the screen and click Load.

Create HU
To create a new HU, a intake line from the PO Intake Lines list must first be selected and then Create HU can be clicked. This function is also available through right-clicking an intake line.
Complete the form accordingly and click OK.

This HU will now be displayed in the ASN Details list at the bottom of the screen and the quantity of the intake line will change accordingly.

Remove HU
Select a HU from the ASN Details list and click Remove HU to remove it. Click Yes at the confirmation pop-up box to confirm this action. This function is also available through right-clicking an HU in the list.
Create Replenishment
To access the Create Replenishment screen, click on the Orders tab and then on Create Replenishment inside the drop-down menu.
To create a replenishment (RPL) item, complete all fields at the top of the screen and then click Add.

Refresh now
Click this to refresh the list of RPL items.
Select an RPL item from the list and right-click it to perform the following functions:

Update quantity
Click this to update the quantity of the RPL item. Type in the new quantity and click OK to confirm.

Delete RPL
Click this to delete the selected RPL item. Click Yes at the confirmation pop-up box to confirm this action.
Process Kanban Cards
This section has not yet been updated
To access this screen, click on Process Kanban Cards in the Orders menu.
In the Kanban Card Details pane, click Next to move to the next Process ID.
![]()
Complete all fields and click Add.

In the Kanban cards scanned pane, the list can be filtered by completing the applicable fields and clicking Show cards.
By selecting a Kanban card from the list and right-clicking it, the following functions can be performed:
Complete card
Click this to complete the selected card.
Complete cards for Process ID
Click this to complete all cards for the selected Process ID. Click Yes at the confirmation pop-up box to confirm this action.
Complete cards for Print ID
Click this to complete all cards for the selected Print ID.
Re-print report
Click this to re-print the report for the selected Kanban card.
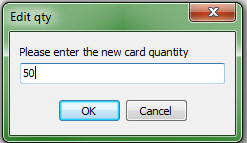
Update quantity
Click this to update the quantity of the selected card. Enter the new quantity and click OK.
Delete card
Click this to delete the selected card. Click Yes at the confirmation pop-up box to confirm this action.
Print new cards
Click this button to print new Kanban cards.