Enquiries
We are in the process of porting our user manual, this page might contain incorrect information.
Inventory
To access the Inventory Enquiries screen, click on the Enquiries tab and then on Inventory inside the drop-down menu. The shortcut Ctrl + I can also be used to access it.
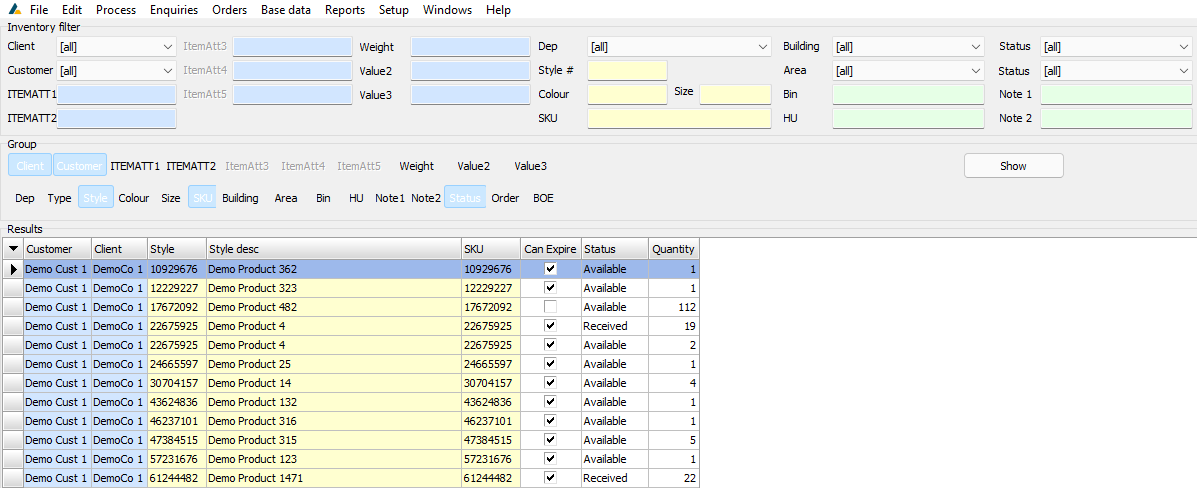
You can filter the inventory list by completing the applicable fields at the top of the screen and clicking Show. You can also select which fields you would like to be visible by selecting them in the Group pane before clicking Show. In the example below, the HU and SKU fields have been selected. Quantity will always be displayed.
HUs
To access the Inventory Enquiries screen, click on the Enquiries tab and then on HUs inside the drop-down menu. The shortcut Ctrl + H can also be used to access it.
You can filter the HU list by completing the applicable fields at the top of the screen and clicking Show.
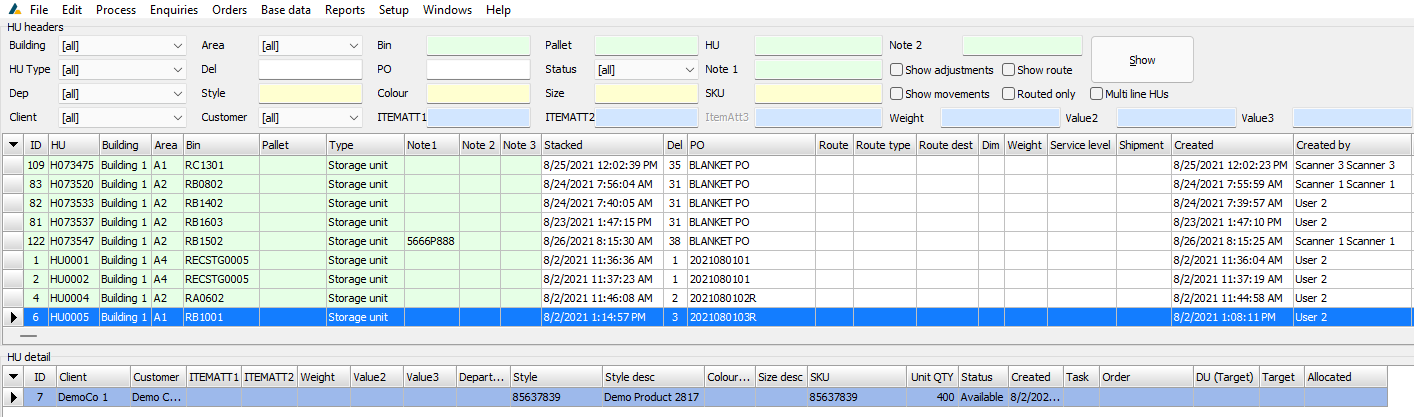
By selecting an HU from the list and right-clicking it, you can perform the following functions:

Below you will find the feature and description of the options found when the user right clicks an HU.
Change pallet number
Click this to change the pallet number of the selected HU. Type in a new pallet number and click OK to confirm.

Change dimension
Click this to change the dimension of the selected HU. Type in a new dimension value and click OK to confirm.

Change notes
Click this to edit the HU notes of the selected HU. Type in the applicable notes and click OK to confirm.

Clear notes
Click this to clear any HU notes linked to the selected HU. Click Yes at the confirmation pop-up box to confirm this action.

Archive DU
Click this to archive the DU if the selected HU type is Distribution. Click Yes at the confirmation pop-up box to confirm this action.

By selecting a SKU in the HU Detail table at the bottom of the screen and right-clicking it, the following functions can be performed:

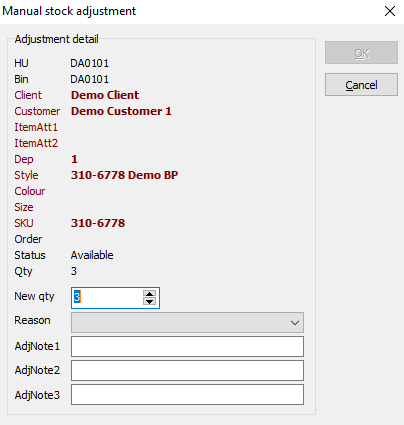
Stock adjustment
Click this to adjust the quantity of the selected SKU. Update the quantity field and select a reason for the adjustment from the drop-down list. Then click OK to confirm.
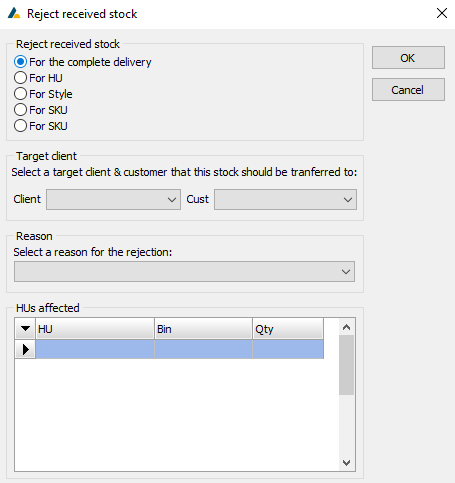
Reject stock
Click this to reject the selected stock. Complete the applicable fields and then click OK to confirm.
PO Enquiries
To access the PO Enquiries screen, click on the Enquiries tab and then on PO Enquiries inside the drop-down menu.
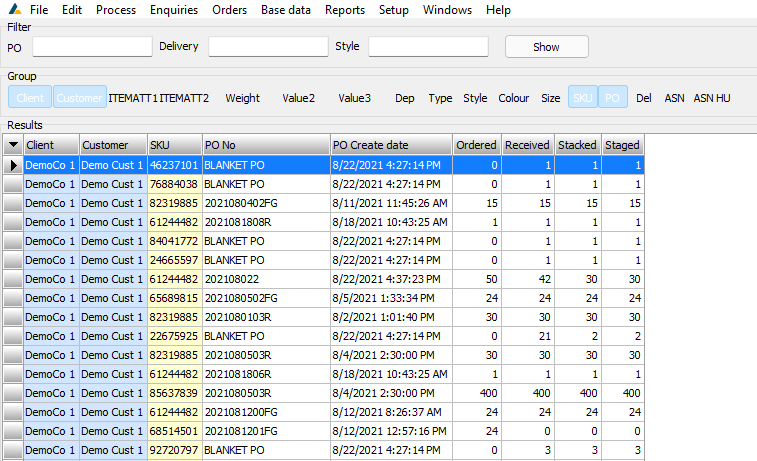
To filter the list of POs', complete the applicable fields at the top of the screen and click Show. To create a custom filter, click the "..." button and add custom fields to create your filter. Click OK to confirm changes to the custom filter and then click Show.
You can select which fields will be visible by selecting them in the Group pane before clicking Show. In the example below, the list is grouped by Client, Customer, SKU and PO.
Item Serials
To access the Item Serials screen, click on the Enquiries tab and then on Item Serials inside the drop-down menu.

You can filter the list of Item serial number details by completing the applicable fields at the top of the screen and clicking Show.
Stock Transfer Instructions
This section has not yet been updated
To access the Stock Transfer Instructions screen, click on the Enquiries tab and then on Stock Transfer Instructions inside the drop-down menu.
The list of instructions can be filtered by completing the applicable fields at the top of the screen and clicking Show.
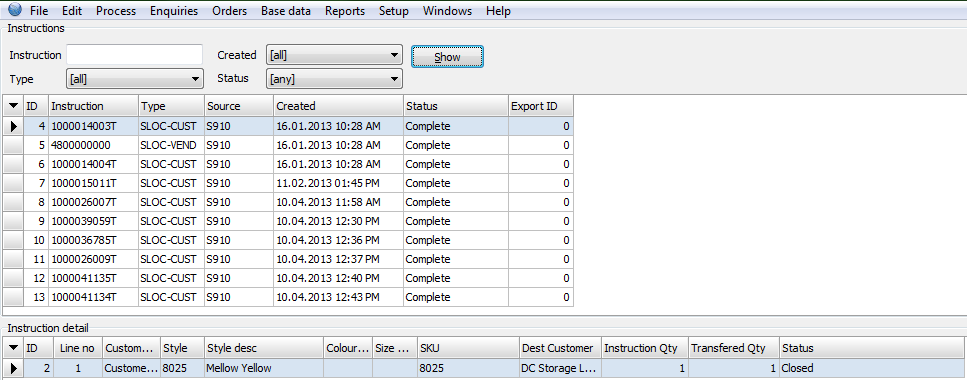
If you select an instruction and right-click it, you can perform the following function:
Complete instruction
Click this to complete the selected stock transfer instruction.
By selecting an instruction detail and right-clicking it, you can perform the following function:
Close line
Click this to close the line of the selected stock transfer instruction.
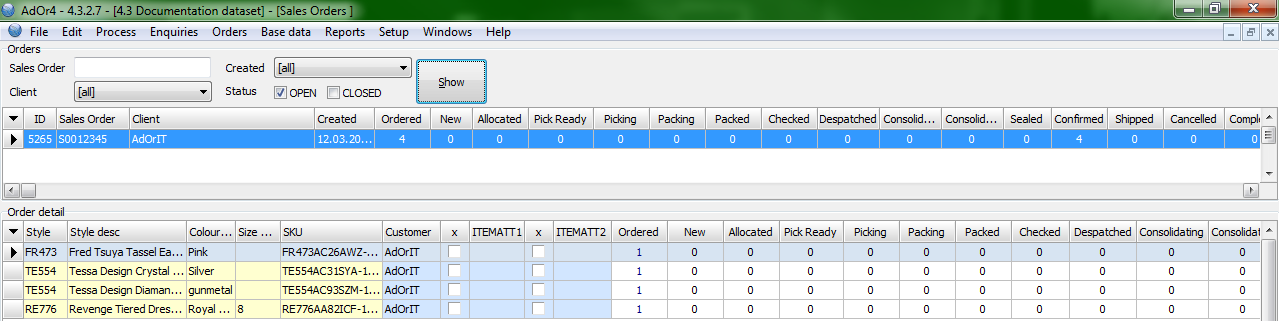
Orders
To access the Orders screen, click on the Enquiries tab and then on Orders inside the drop-down menu. The shortcut Ctrl + O can also be used to access it.
You can filter the list by completing the applicable fields at the top of the page and clicking Show.

Order detail
The order details can be viewed at the bottom, below the oders list after clicking on a order.

Show/hide address
Click this to toggle the visibility of the delivery address for the selected order.

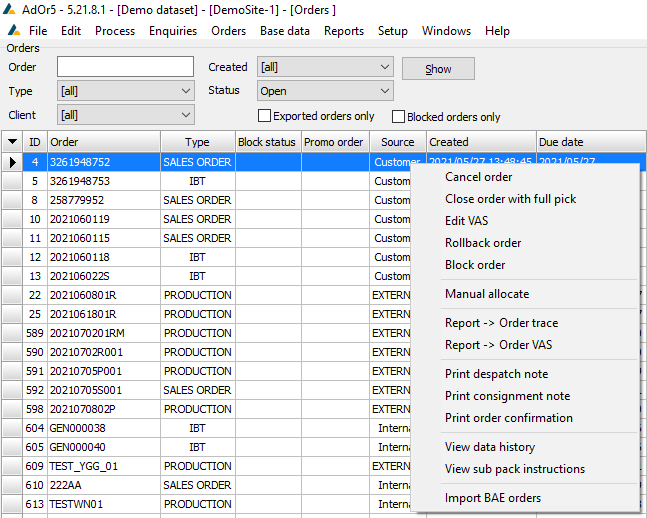
By selecting an order from the list and right-clicking it, you can perform the following functions:
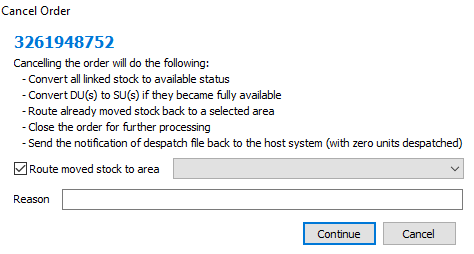
Cancel order
Click this to cancel the selected order. At the confirmation pop-up box, select whether you want to route the moved stock to a specific area and choose an area from the drop-down list. You can also type in a reason for the order cancellation. Click Continue to proceed with the cancellation of the order.
Close order with full pick
Click this to close the order and send a despatch notification to the host system as if the order was packed and despatched in full. Click Yes at the confirmation pop-up screen to confirm the action.

Edit VAS
Click this to edit the VAS for the selected order. Click OK to save changes. You can also click Print to print the VAS information.

Manual allocates
Click this to man
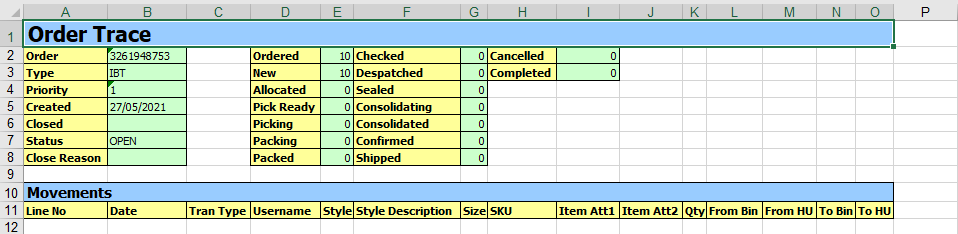
Report -> Order trace
Click this to generate an Order Trace report for the selected order.

Check the applicable options and click Generate to create the report. The report will open in MS Excel automatically.
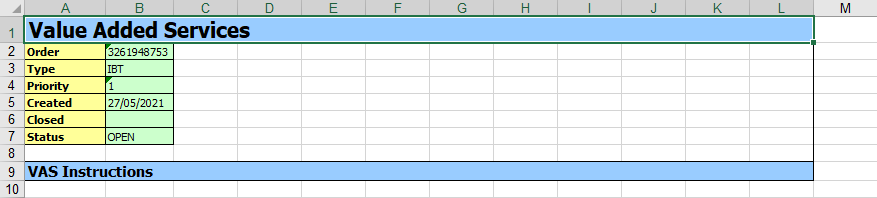
Report -> Order VAS
Click this to generate an Order VAS report for the selected order.

Click Generate to create the report. The report will open in MS Excel automatically.
Print despatch note
Click this to print a despatch note for the selected order. Click Print to proceed or Preview to preview the note.

Print consignment note
Click this to print a consignment note for the selected order. Click Print to proceed or Preview to preview the note.

Print order confirmation
Click this to print the confirmation for the selected order. Click Print to proceed or Preview to preview the order confirmation.

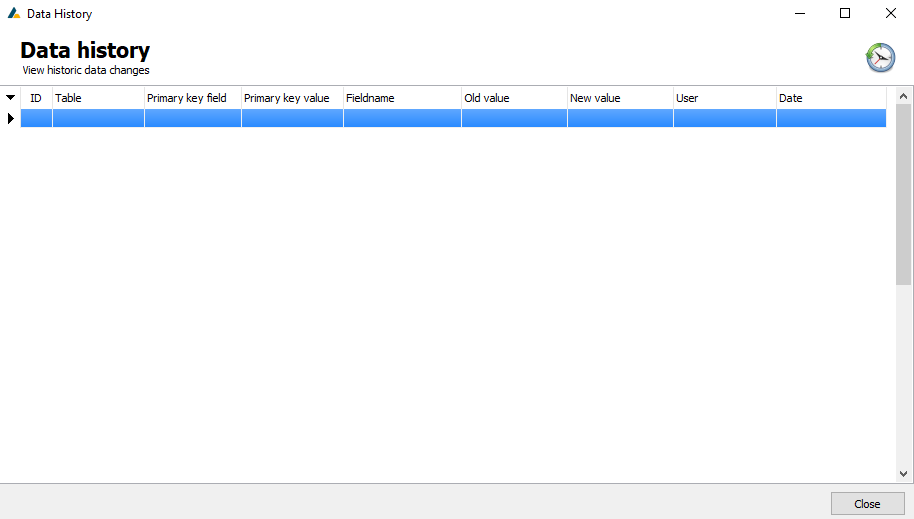
View data history
Click this to view the data history of the selected order.
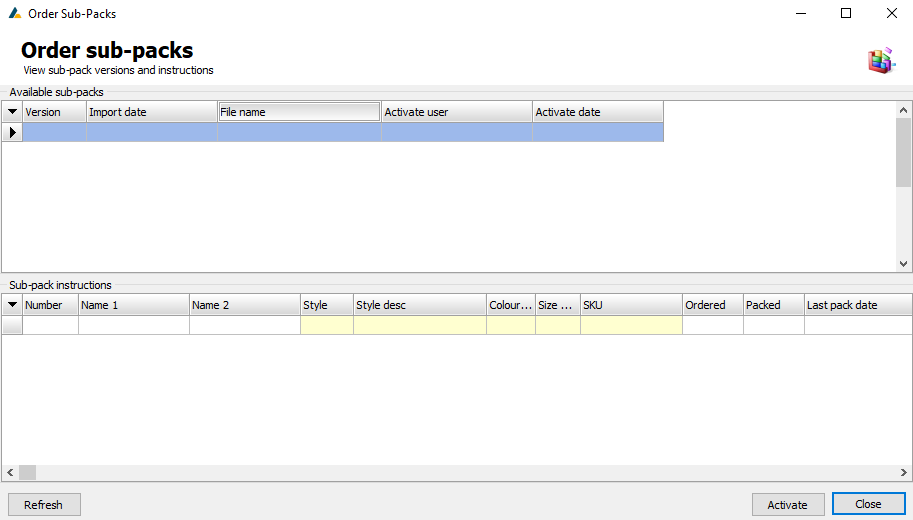
View sub pack instructions
Click this to view sub pack instructions for the current order. Sub packs can also be activated from this screen.
Import BAE orders
Click this to import BAE orders for the selected order. Browse for the applicable file by clicking the "..." button and complete the applicable kits and due date fields. Click Import to proceed.

In the Order Details pane, you can select an order line and right-click it to perform the following functions:

Edit reference
Click this to add/edit a reference to the selected order line. Type in the reference and click OK to confirm.

Complete order line
Click this to complete the selected order line. Click Yes at the confirmation pop-up box to confirm this action.

Un-complete order line
Click this to un-complete the selected completed order line. Click Yes at the confirmation pop-up box to confirm this action.
Complete all outstanding lines
Click this to complete all outstanding order lines in the selected order. Click Yes at the confirmation pop-up box to confirm this action. Note that you must first select a line that is in "New" status.
Print order SKU labels
Click this to print SKU labels for the selected order lines. You can also choose to print for all the order lines within the selected order as well as specify the number of copies. Click Print to print the SKU labels.

Print voucher template
Click this to print a voucher template for the selected order lines.

Sales Orders
This section has not yet been updated
To access the Sales Orders screen, click on the Enquiries tab and then on Sales Orders inside the drop-down menu.
You can filter the list by completing the applicable fields at the top of the screen and clicking Show.
By selecting a sales order and right-clicking it, the following functions can be performed:
Close sales order
Click this to close the selected sales order. Click Yes at the confirmation pop-up box to confirm this action.
Re-open sales order
Click this to re-open the selected sales order if it has been closed. Click Yes at the confirmation pop-up box to confirm this action.
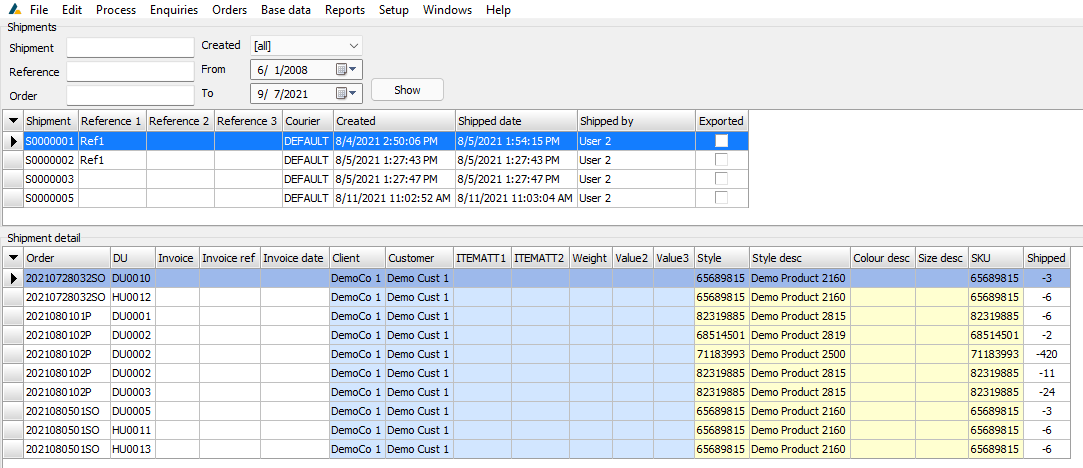
Shipments
To access the Shipments screen, click on the Enquiries tab and then on Shipments inside the drop-down menu.
You can filter the list by completing the applicable fields at the top of the screen and clicking Show.
By selecting a shipment from the list and right-clicking it, the following functions can be performed:
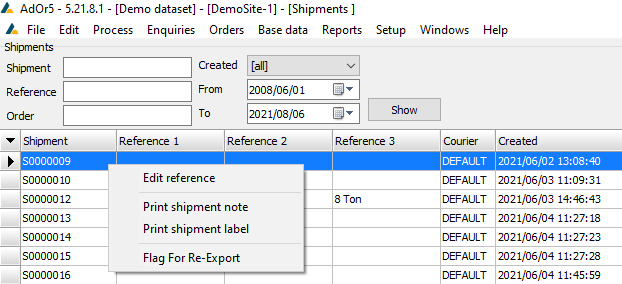
Edit reference
Click this to add/edit a reference for the selected shipment. Type in the reference details and click OK to confirm. Note -- This only updates the Reference 1 field.

Print shipment note
Click this to print a shipment note for the selected shipment. Click Preview to view a preview of the note or click Print to print the note.
Print shipment label
Click this to print a shipment label for the selected shipment.
Order Allocation History
To access the Order Allocation History screen, click on the Enquiries tab and then on Order Allocation History inside the drop-down menu.
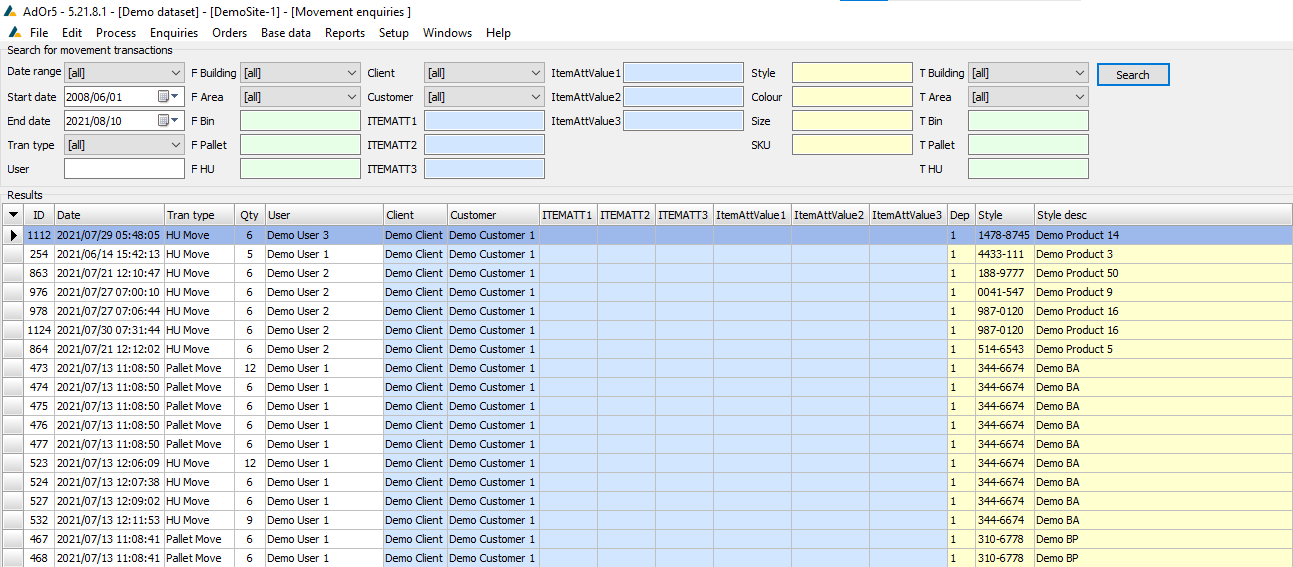
Movements
To access the Movements screen, click on the Enquiries tab and then on Movements inside the drop-down menu. The shortcut Ctrl + M can also be used to access it.
The list can be filtered by completing the applicable fields at the top of the screen and then clicking Search.
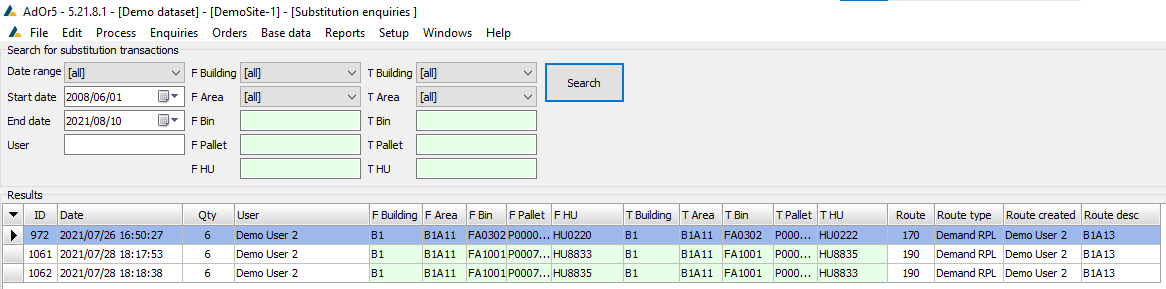
Substitutions
To access the Substitutions screen, click on the Enquiries tab and then on Substitutions inside the drop-down menu.
The list of substitutions can be filtered by completing the applicable fields at the top of the screen and then clicking Search.
Stock Adjustments
To access the Stock Adjustments screen, click on the Enquiries tab and then on Stock Adjustments inside the drop-down menu.
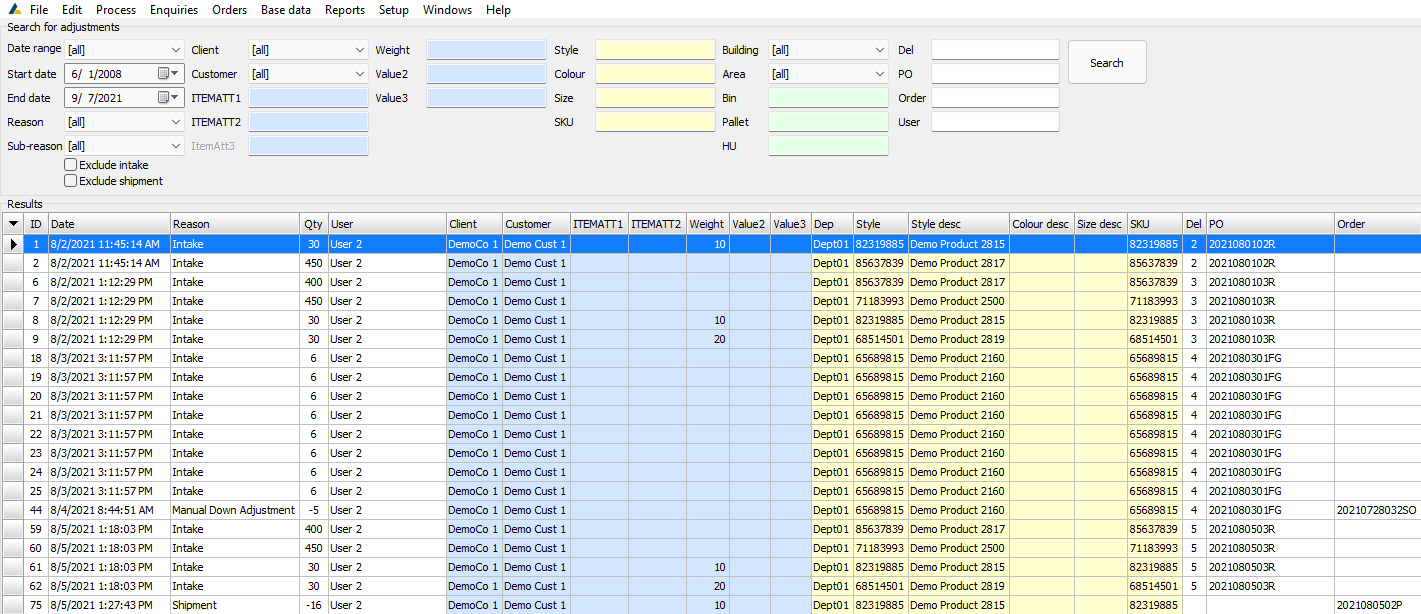
The list of stock adjustments can be filtered by completing the applicable fields at the top of the screen and then clicking Search.
Stock Despatched
To access the Stock Despatched screen, click on the Enquiries tab and then on Stock despatched inside the drop-down menu.
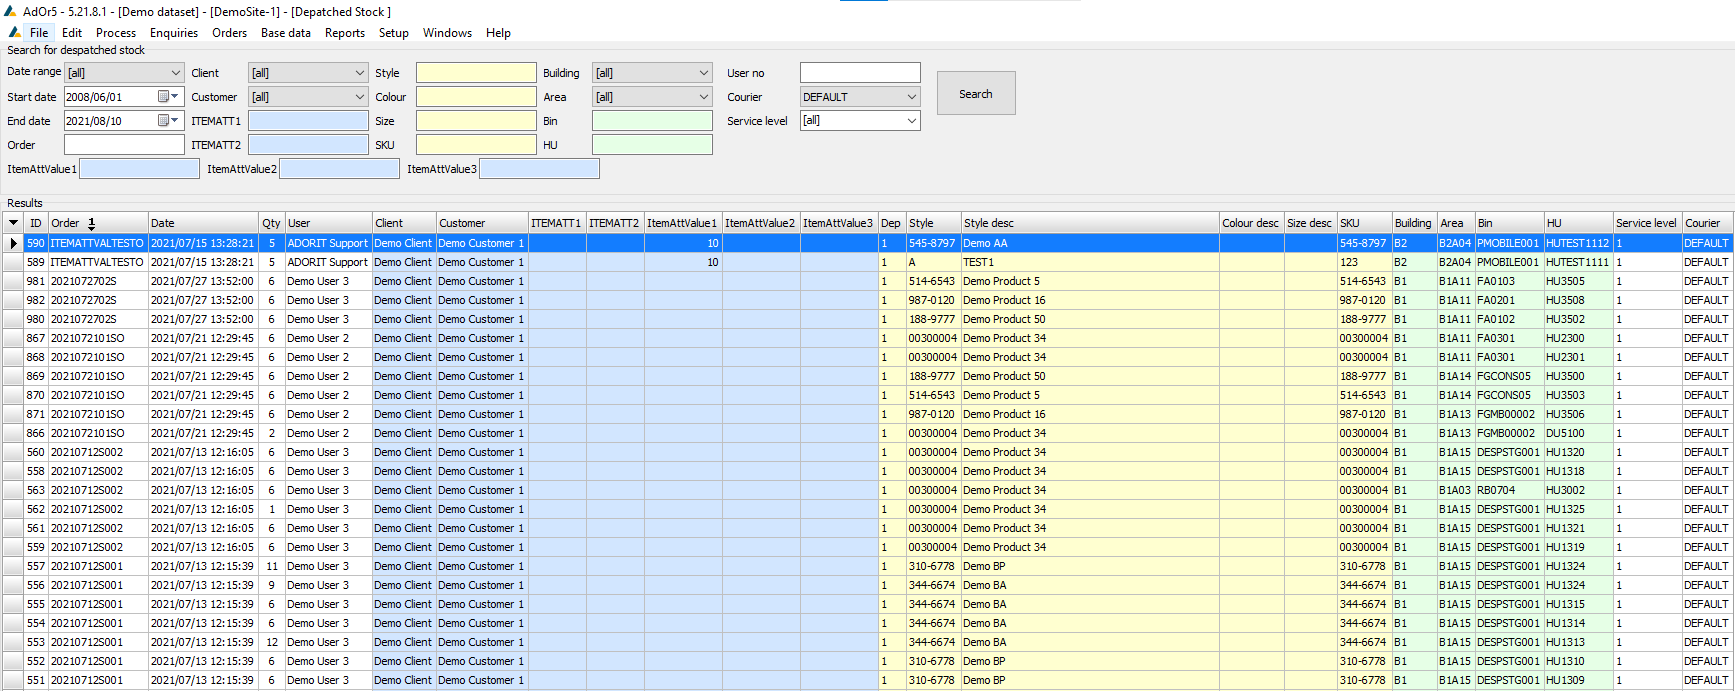
You can filter the list by completing the applicable fields at the top of the screen and then clicking Search.
Integration
To access the Integration screen, click on the Enquiries tab and then on Integration inside the drop-down menu or press F10 on your keyboard.
The list can be filtered by completing the applicable fields at the top of the screen and then clicking Show.
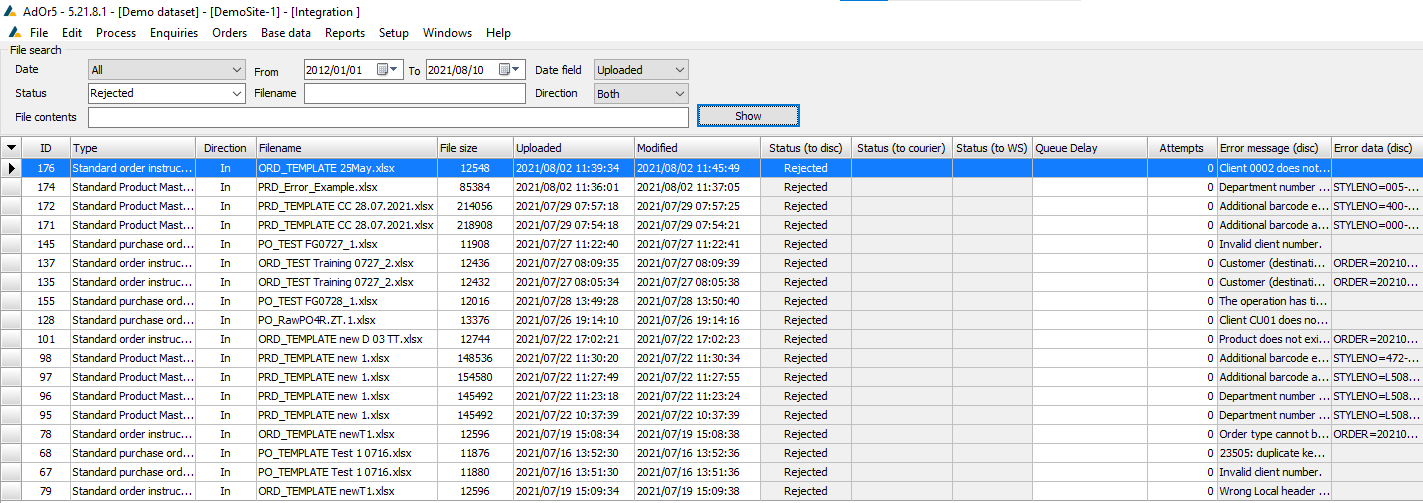
By selecting an integration file from the list and right-clicking it, the following functions can be performed:
Rerun
Click this to rerun the selected integration file. Click Yes at the confirmation pop-up box to confirm this action.
Accept
Click this to accept the selected integration file. Click Yes at the confirmation pop-up box to confirm this action.
Reject
Click this to reject the selected integration file. Click Yes at the confirmation pop-up box to confirm this action.
Rerun WS
Click this to rerun the WS for the selected integration file. Click Yes at the confirmation pop-up box to confirm this action.
Accept WS
Click this to accept the WS for the selected integration file. Click Yes at the confirmation pop-up box to confirm this action.
Reject WS
Click this to reject the WS for the selected integration file. Click Yes at the confirmation pop-up box to confirm this action.
Edit file contents
Click this to edit the contents of the file to be integrated. After editing the data, click Save to save your changes or Cancel to revert to the file state before editing.
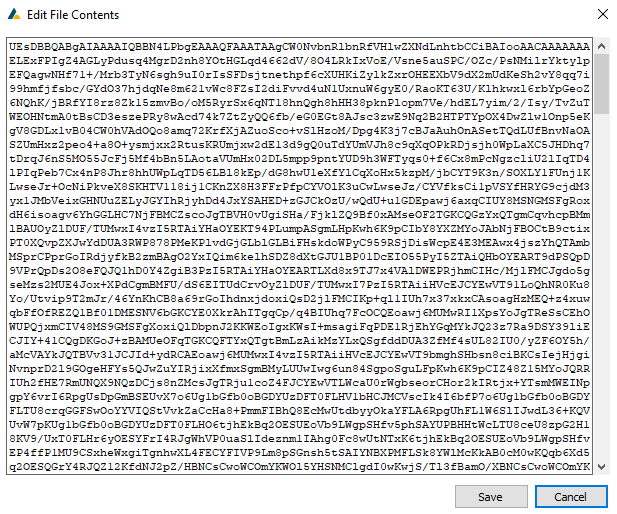
.xlsx files are encoded in Base64
View Error Messages
Click this to show the error messages (if any) of the selected integration file.