Settings
We are in the process of porting our user manual, this page might contain incorrect information.
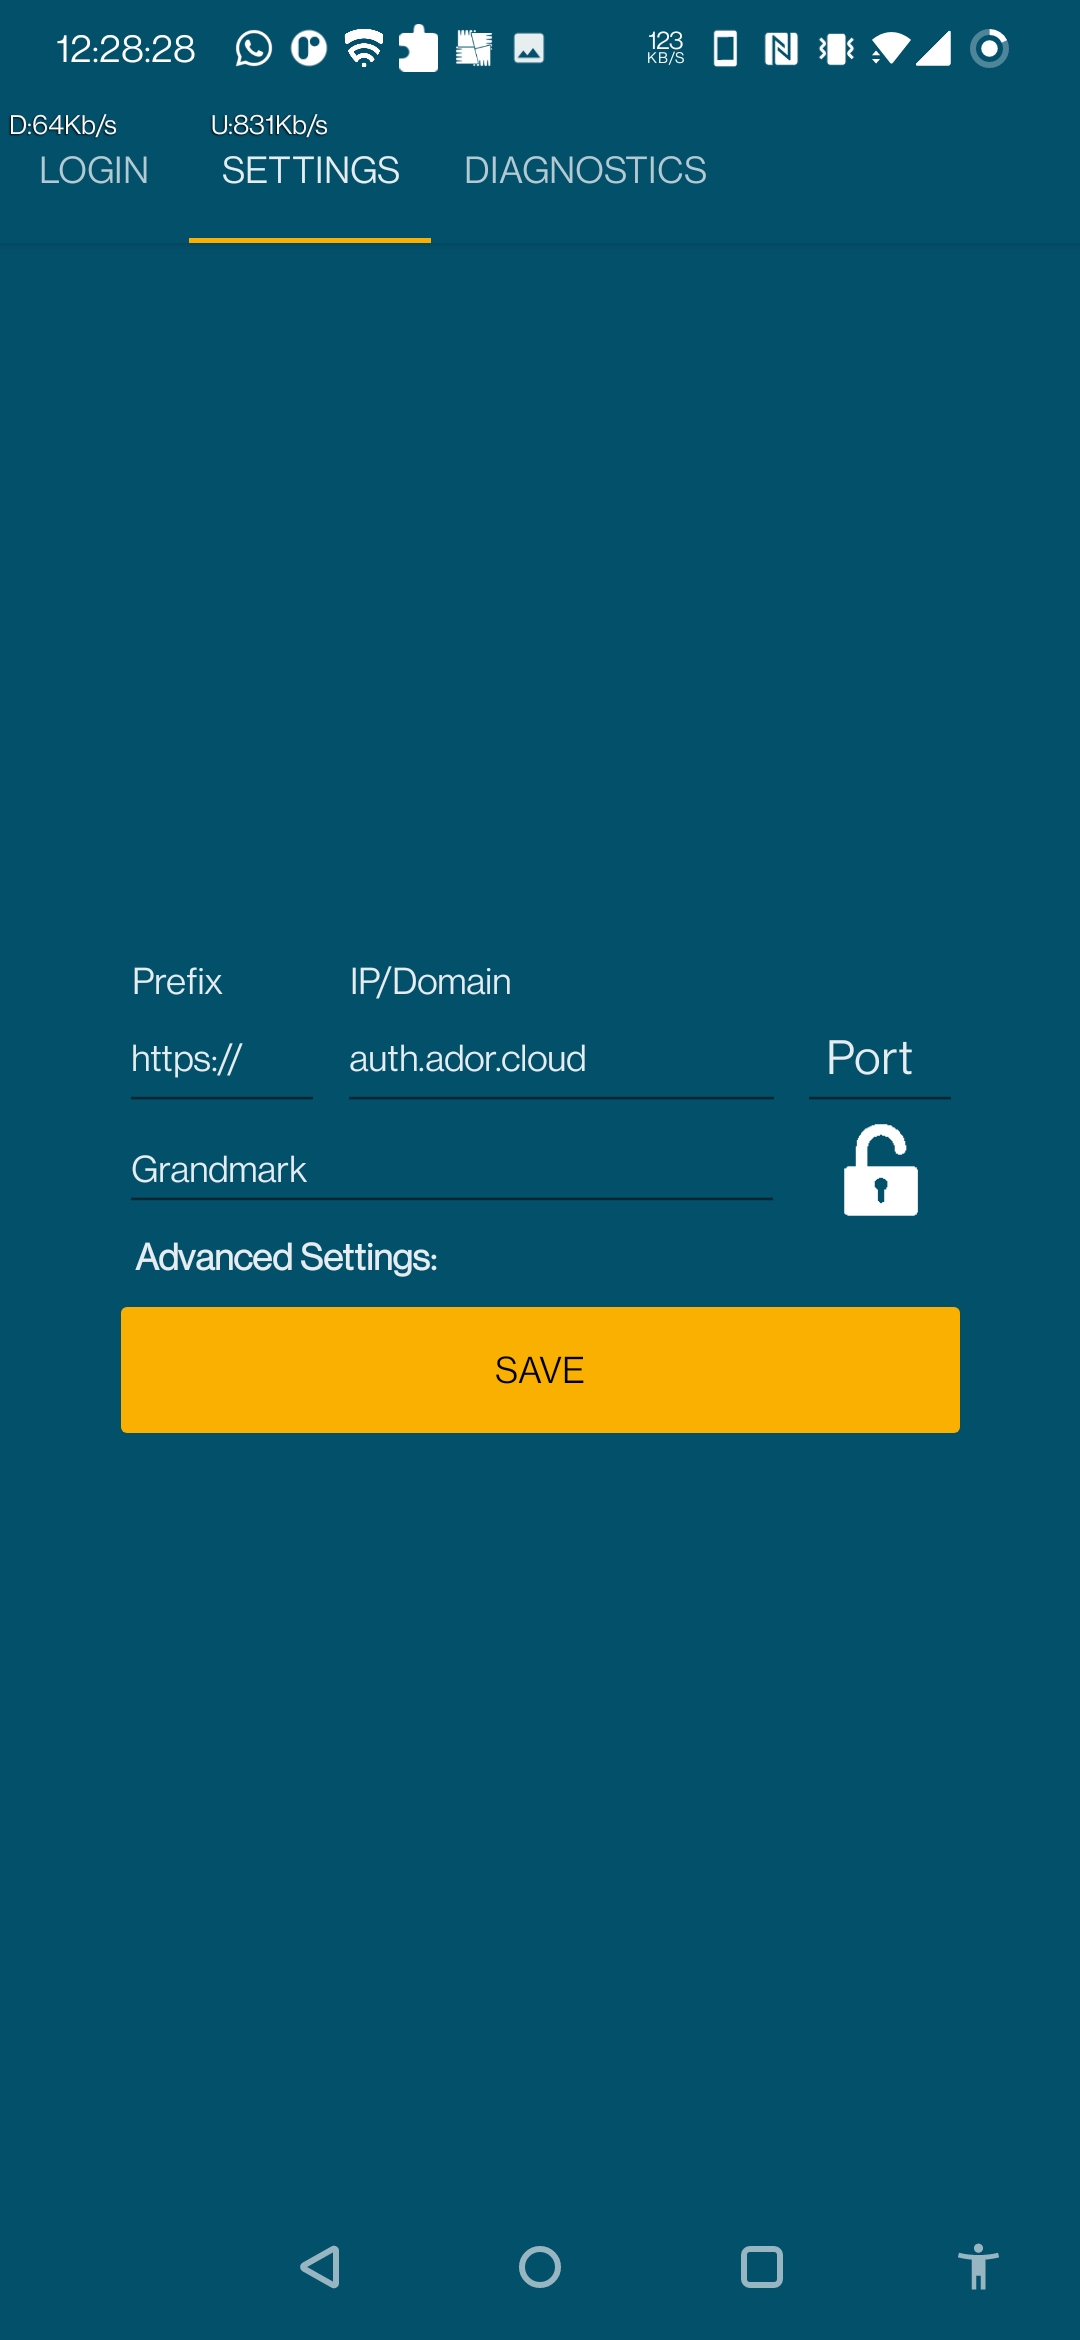
A correct AuthenticationAPI endpoint must be provided to handle Authentication/Authorization. An already setup Client Code is used to initialize the Unlock Process.
AuthenticationAPI Endpoint
Prefix
Depends on the transfer protocol setup on the server. Choice between http or https.
IP/Domain
Valid AuthenticationAPI IP/Domain
Port
Port 5050 must be input, especially for IP endpoints, Domains may be setup to automatically route through to a specific endpoint.
"Unlock" Operation
The Unlock Operation is done to handle Device Authentication and Site Authentication once the Site has been selected.
Client Code
Clicking the Unlock Button prompts for a Client Code, this should be a lowercase code representing the Client doing the Authenticating.
If the Client Code exists, a check is done to ensure the Device is Authorized to run on the AdOr5 System, an OTP is generated and sent to the email setup along with the Client Code, once Authorized, site selection will be populated based on the client provided and unlocked.
Site Selection
A Site can be selected now, Site Authorization will run to ensure the switch can be done, an OTP is generated and sent to the email setup along with the Client Code, once Authorized, the Settings can be saved, and a login can be attempted...
Advanced Settings
Debugging Mode
Turning on Debugging Mode, enables Pages to get fully fetched on each login.
Future Updates will add more functionality to Debugging Mode, such as additional device information in the Diagnostics screen.
Camera Scanner
Turning this on enables the Camera Scanner Module, this allows for the Camera to be used as a Barcode Scanner.
QR Authentication
Utilizes a Camera Scanner Module specific to QR Codes, to allow for certain Authentication to be handles automatically based on "Automatic" Authentication initialized from the AdminUI.